|
The Tuesday Night Club Official Web Site |
The Tuesday Night Club on Tour
Tour 2005
2 - The Eastern half of the Witham Navigable Drains - West Fen Drain, Medlam Drain, New Bolingbroke Drain, Maud Foster Drain, Stonebridge Drain, West Fen Catchwater Drain and East Fen Catchwater Drain.
21st July 2005
The drain men started early. So to the sound of excavators, we departed at 06:00. It was a very quick passage back down the Twenty Foot Drain and out into the Main West Fen Drain, bound for Medlam - the only drain we had not visited previously.
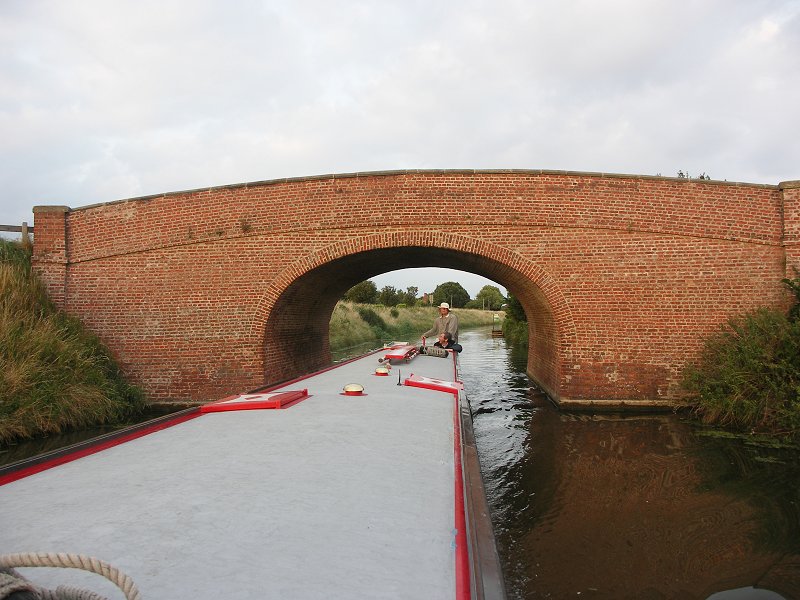
At Frithville, the Main West Fen Drain takes a turn to the south and Medlam Drain comes in from the North. At this point the Main Drain is wide and deep and it was an easy turn under the B1184 White Hart Bridge and North up Medlam Drain. This drain starts out wide and deep and it was an easy weed-free passage up to a side drain that comes in from the west at Carrington Grange. Here it is possible to wind a 70ft narrowboat, but the side drain is not of navigable depth beyond.
It was yet another easy passage up all the way to New Bolingbroke, where the short drain leads up to the village and the B1183 road. This is the final winding point, so we reversed into it, only to find, some 40 minutes later, we had managed to progress right to the end of this tiny drain!
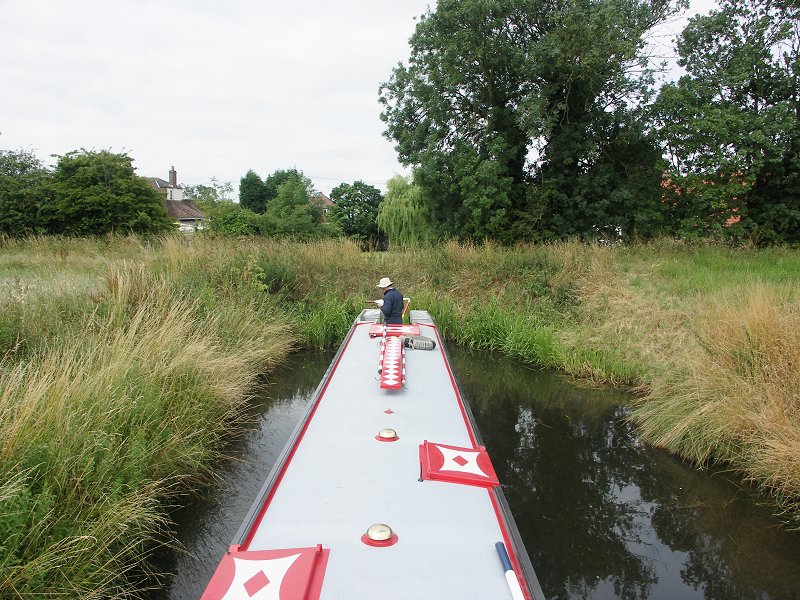
Returning back to Medlam Drain, we started reversing up its’ dead-end section. It was fairly easy passage up to the footbridge below Lapwater Farm. Here the rush growth came in from the sides as this section had not been grubbed out in years. Still, we made progress to where a drain entered above the farm. Having got through the wall-to-wall rush growth we got another couple of hundred yards to within sight of the weed-choked end at Revesby Bridge.
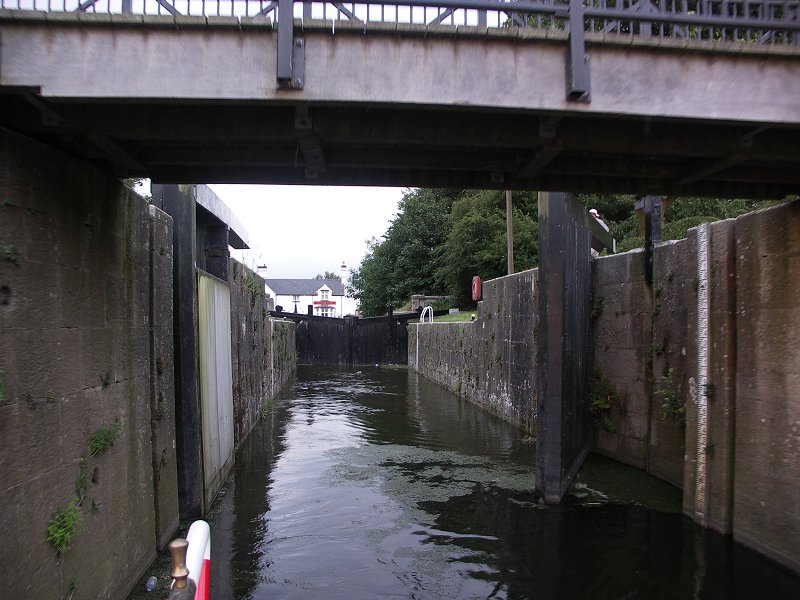
Once back to New Bolingbroke it was plain sailing down to the junction with the West Fen Main Drain at Frithville and then even faster progress down the now very wide Main Drain until Cowbridge was reached at 12:10. It was now up Cowbridge Lock, the only working lock on the Drains. This comprises a pair of beam-less pointy gates on the bottom, which close by chains, and a BW key locked manual guillotine at the top.
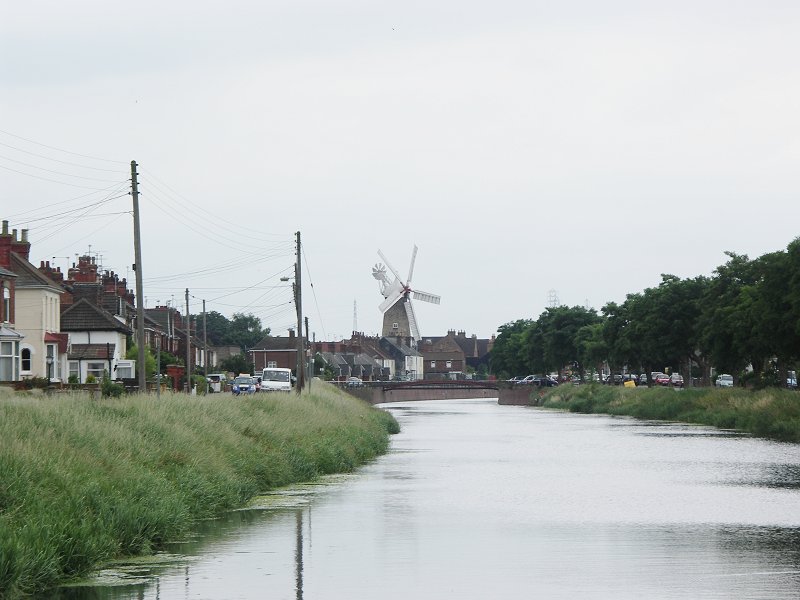
Once through the lock we went past the Stonebridge Drain to the north and then straight down Maud Foster Drain into the backside of Boston. There were some minimal-clearance bridges here, but at normal summer levels they are around 6ft. We went though the Listed brick-walled town section, past the Maud Foster windmill, (the characteristic five sets of sails gently turning) and the two tiny “town steps”. The Environment Agency have put some gabions about 2ft 6ins below water level adjacent to the towns’ west bank side steps, along with a plethora of warning and ‘No Mooring’ signs. Despite poor condition, it is the east bank steps that have to be used.
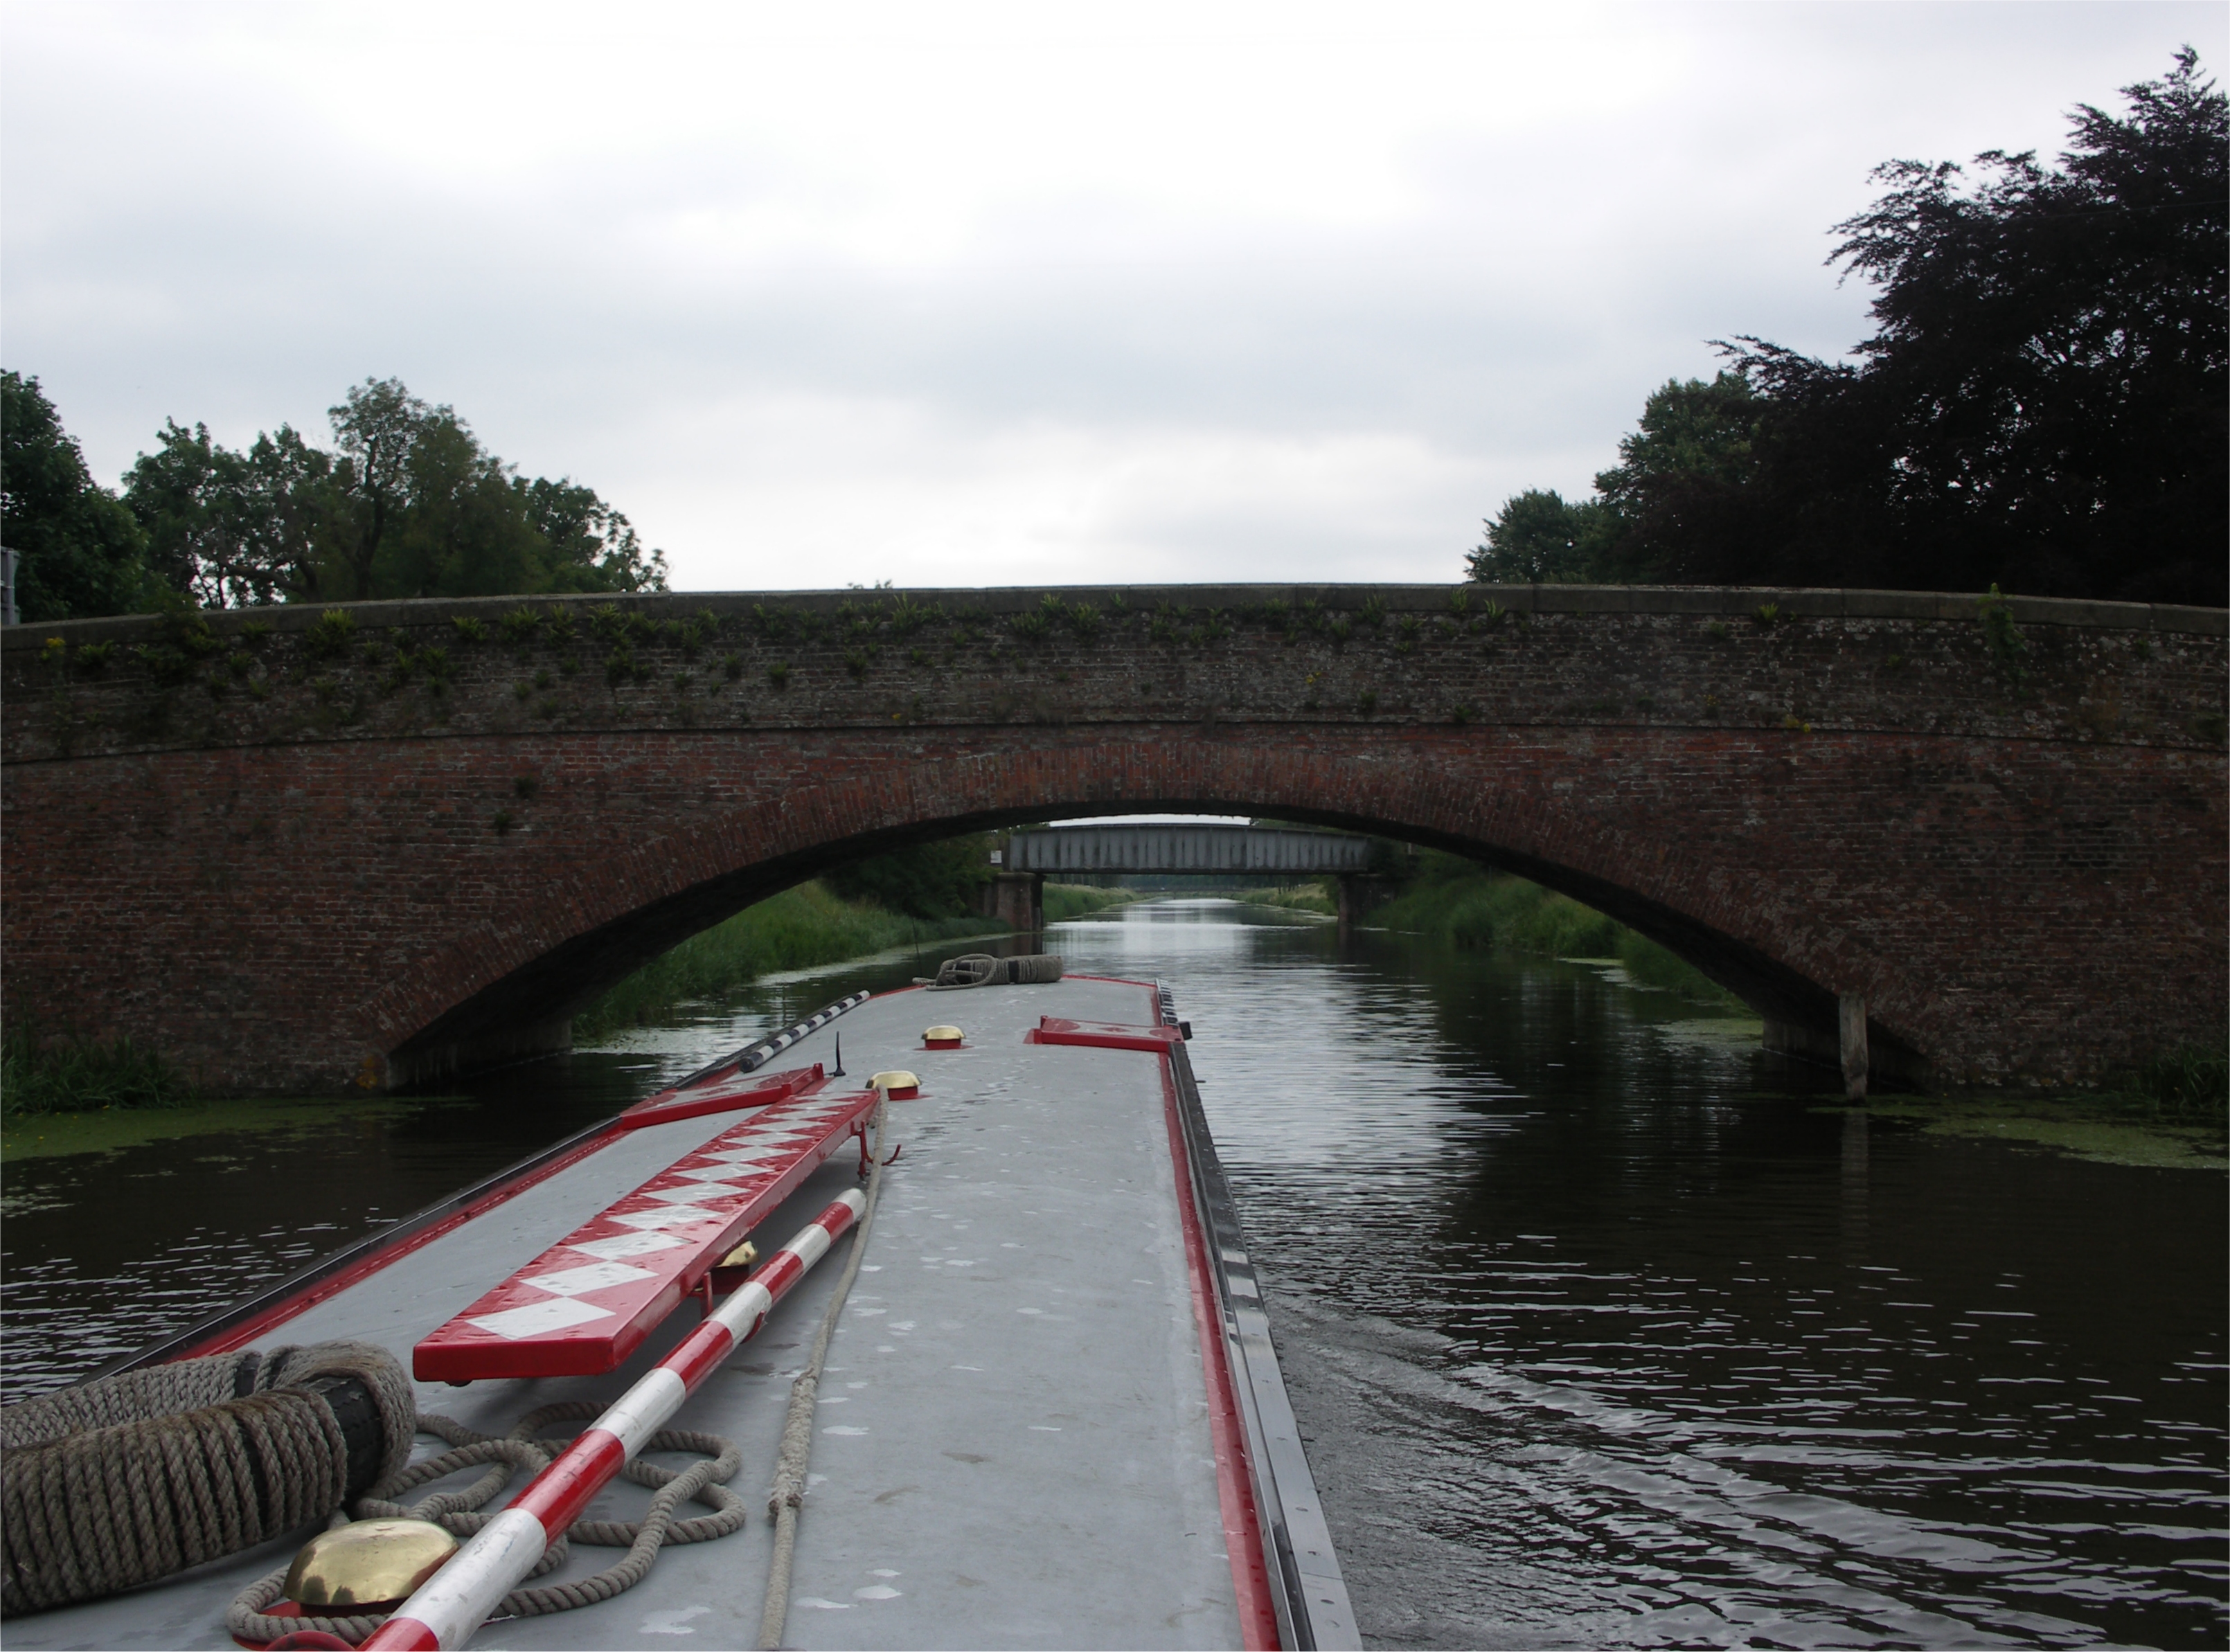
The Environment Agency is in control of the drains at this higher level. These comprise Maud Foster, Stonebridge and the two Catchwater Drains entering the top of Stonebridge Drain, skirting the higher ground and intercepting the run off from these areas. We carried on, under the wide stone-arched Bargate Bridge and up to the next low arched bridge, which on our last two visits were un-navigable. On the first of these previous visits the level was up, and during the second there was scaffolding hanging from under the bridge whilst it was being restored.
Next comes a modern footbridge, followed by the final bridge, Mount Bridge. This graceful wide brick-arched bridge but has had an ugly concrete beam extension to the upstream side.
So we finally reached the end, and the gravity sluices (with mitre flap doors) by the docks. Through the open doors we could see the muddy wastes of the tidal Witham beyond. After winding we headed back to just in front of Bargate Bridge and moored to the railings at the start of the brick-walled section. Surely some floating pontoon moorings could be provided here?
This was intended to be a quick ASDA supermarket stop. Unfortunately, it was not...ASDA had just shut and moved to the other side of town! So at 14:30 we set off back to Cowbridge, to tackle the last large drain, the EA controlled Stonebridge.
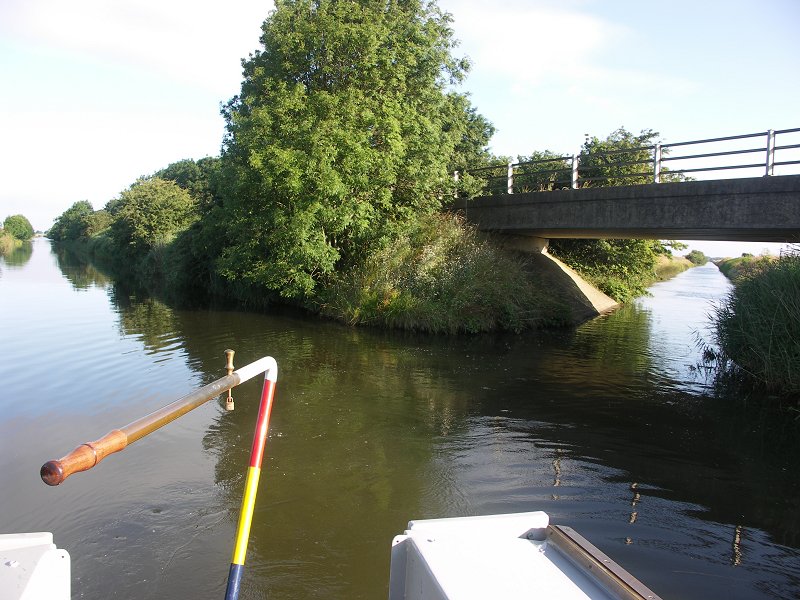
The first thing of interest is an aqueduct, as Stonebridge Drain passes over the main exit drain, Cowbridge Drain. Cowbridge Drain used to have a connecting channel and lock down to it at Cowbridge, but this is now disused, the remains being within the golf course.
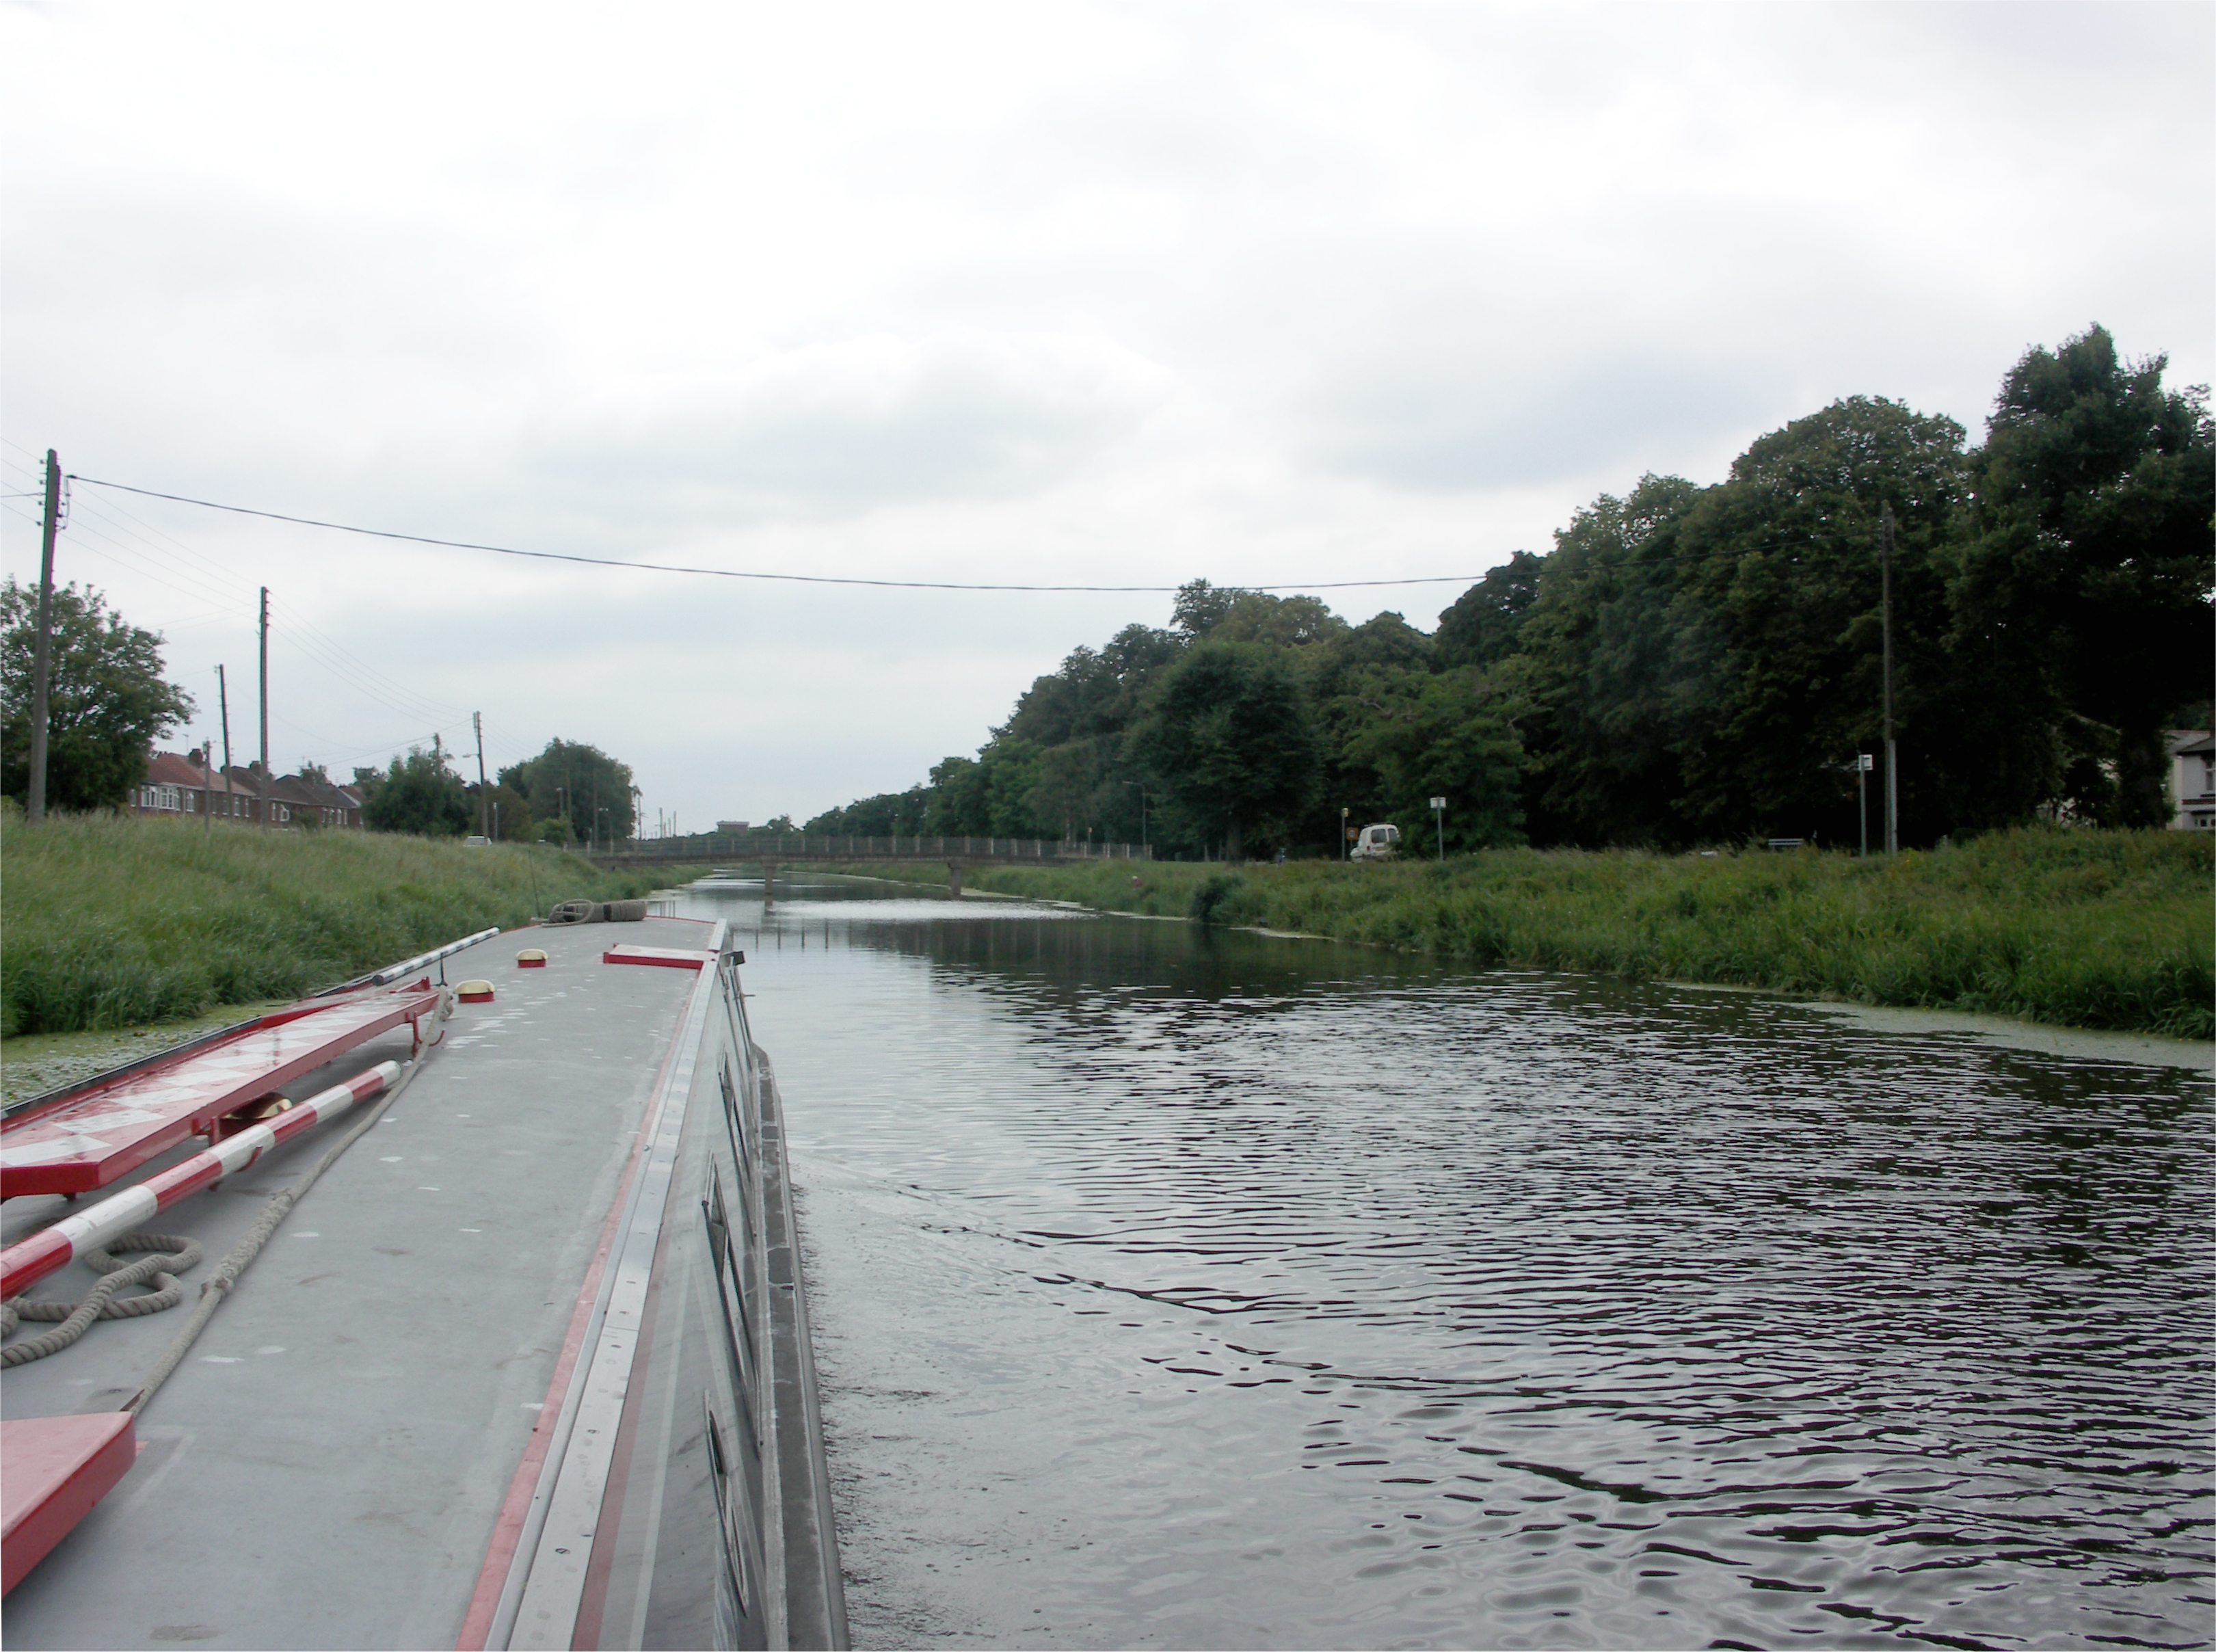
Cowbridge Drain and the connecting Hobhole Drain are still officially navigable. It would be nice to see this connection restored. It was free passage up the wide Stonebridge Drain, though there was much more surface weed and blanket weed blooms than had been experienced on the Drains of the Witham Fourth Internal Drainage Board.
At the end of Stonebridge Drain, The West and East Catchwater Drains join. The West Fen Catchwater Drain is of more interest as this goes up to the disused and gateless Hagnaby Lock. We reversed up, as there was not known to be a winding point for 60ft narrowboats. It was very slow progress and as had been expected the 5ft 2ins air-draught Grange Bridge just stopped us. We do know of another boater, Nick Howard and his Springer Bug “Little Mo”, that has traversed this section up as far as the gateless Hagnaby Lock. We take our hats off to Nick!
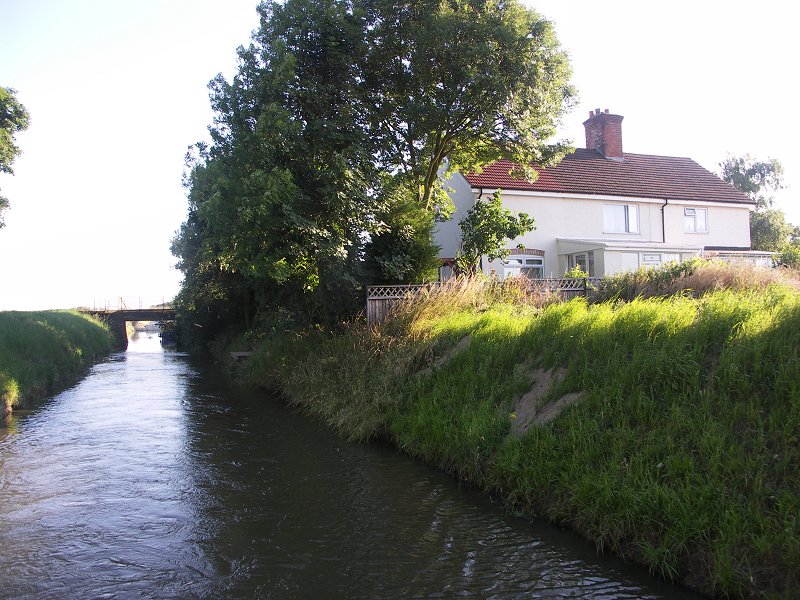
Once back to the junction, we reversed a short distance up the totally weeded up East Fen Catchwater Drain. We started back down Stonebridge Drain at 18:30. At Sibsey, near the low concrete-decked Hale Bridge, there is another restored 6-sail windmill. The flat deck Hale Bridge is higher on the east side, to the outside of the bend.
At Cowbridge we went back down Cowbridge Lock. Instead of immediately turning left under the new B1183 Paul’s Bridge to exit the Drains via Frith Bank Drain, we carried on back up the Main West Fen Drain as we had missed out one Navigable Drain - Lush's. This drain goes off to the east a short distance to a low footbridge. It has a modern concrete deck bridge over the entrance.
The footings of the old bridge are just below the water surface so care was exercised. Beyond is a ninety-degree bend to the north, then the very low disused footbridge. We were able to reverse up, since, despite surface weed, there was reasonable depth. The finale photo shoot ensued, with the stern backed right up to the barely-standing footbridge.
Finally we made it back to Cowbridge. It was then exit back to Anton's Gowt via the deep and weed-free Frith Bank Drain. By 22:30, we were back up Anton's Gowt Lock and moored on the still empty visitor moorings. A hastily prepared jar curry meal then followed, washed down with a celebratory bottle of red - all of the Witham Navigable Drains polished off in just two days!
Looking back at Hardy's / Beeches Lane Bridge. Twenty Foot Dyke.

Twenty Foot Dyke.

Twenty Foot Dyke Bridge at the entrance to Twenty Foot Dyke.
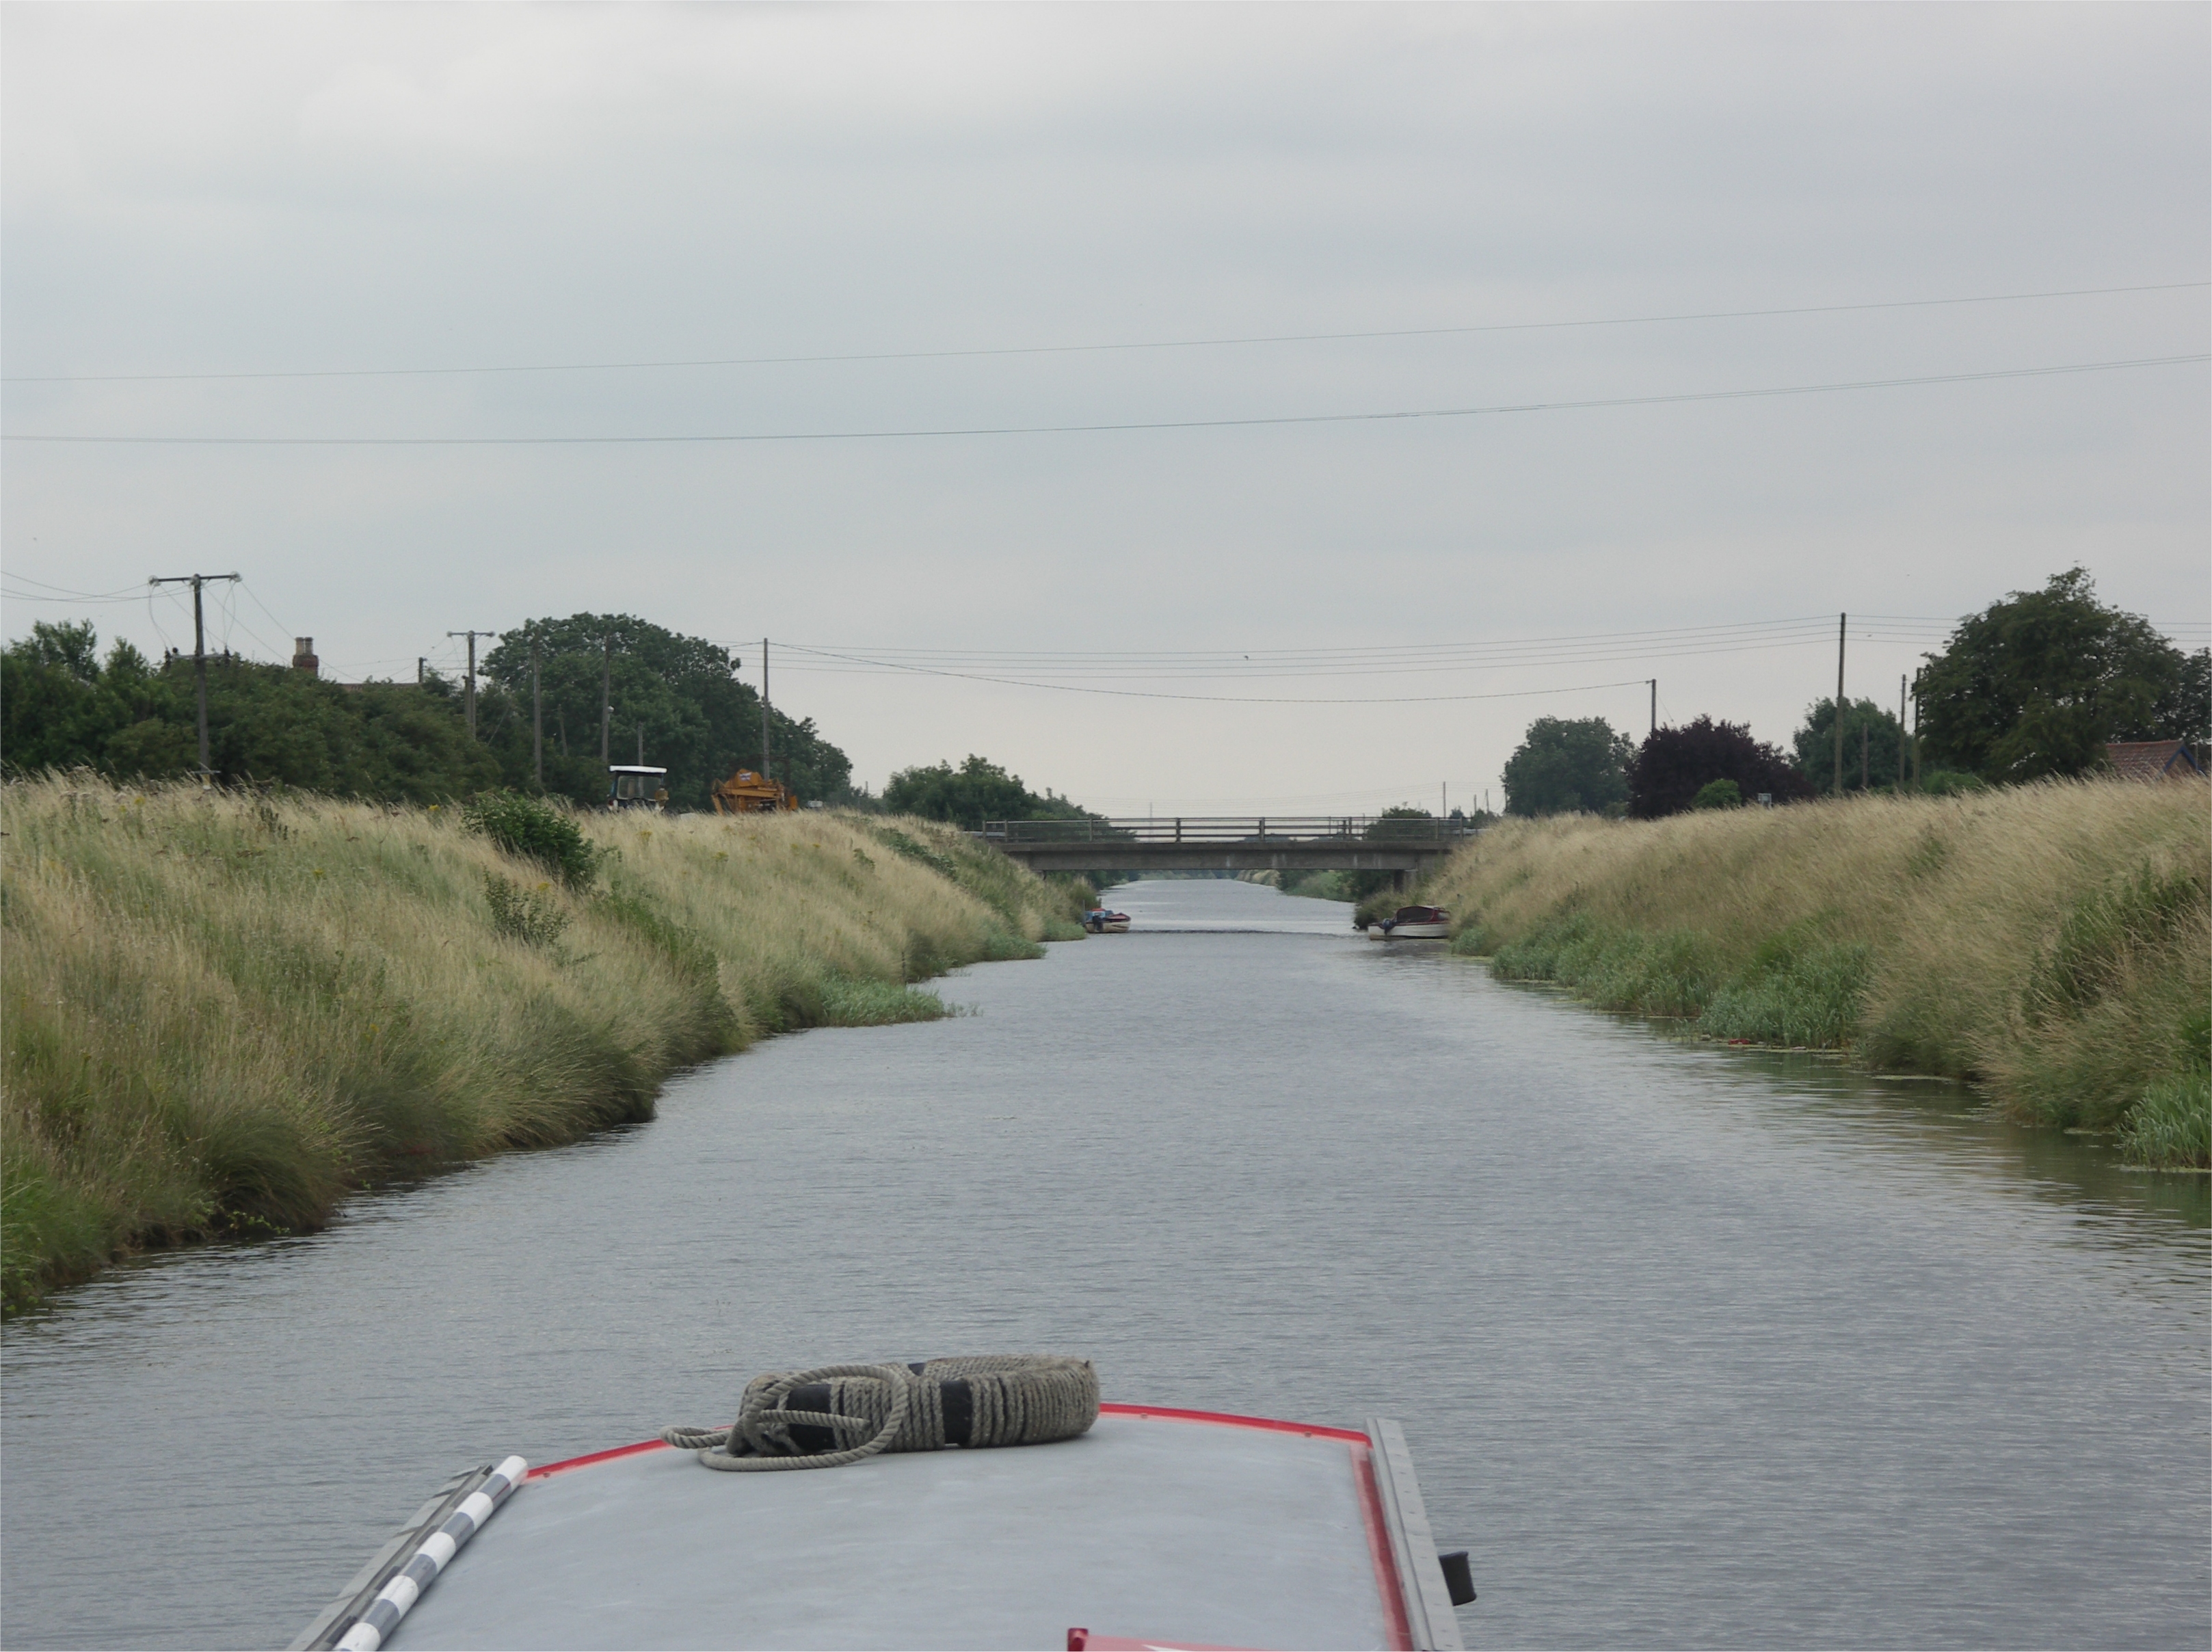
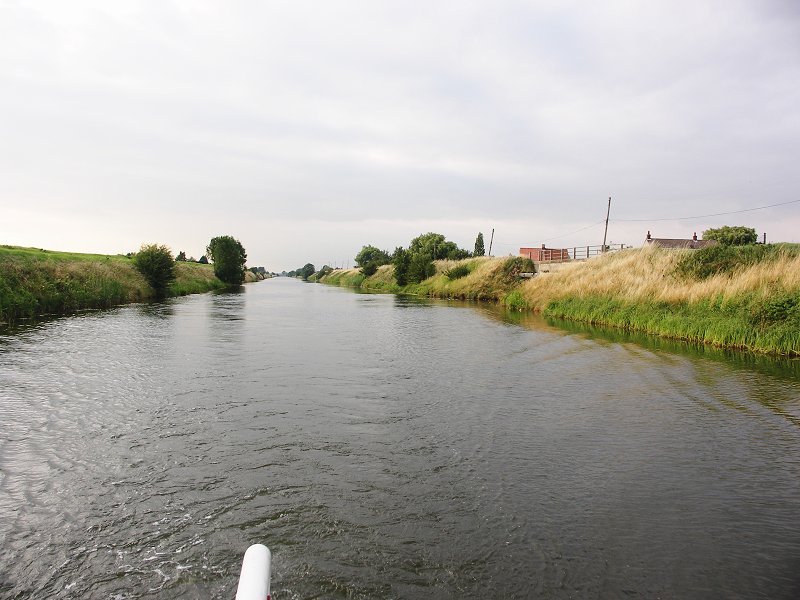
Looking back at Twenty Foot Dyke Bridge from the West Fen Drain. We are now
carrying on down to Frithville.

Slate House Farm Bridge. West Fen Drain.

Frithville. Looking back at the B1184 Frithville Bridge. West Fen Drain.

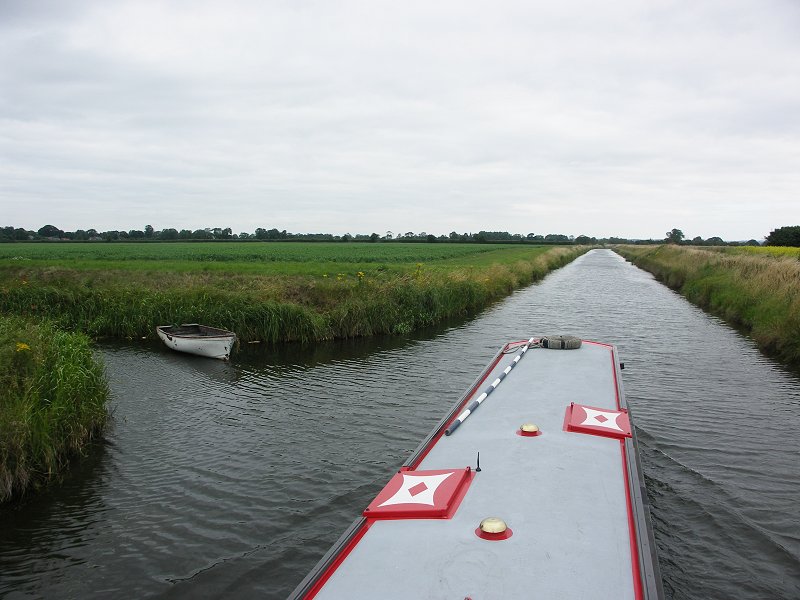
Frithville. Looking down to the junction with Medlam (left). West Fen Drain.

We have now turned left up Medlam Drain. Frithville. White Hart Bridge.

Medlam Drain.

Hakerley Bridge. Medlam Drain.
Junction with the un-navigable Carrington Grange Drain. Medlam Drain.

Medlam Drain.

Farm Bridge, Medlam Bridge in the distance. Medlam Drain.

Looking back at Farm Bridge. Medlam Drain.

Medlam Bridge. Medlam Drain.

Abutments of old railway bridge. Medlam Drain.

We take the New Bolingbroke Drain to the left (astern). Medlam Drain.
The end of the New Bolingbroke Drain.

Coming back down the New Bolingbroke Drain.

Back to the Medlam Drain, we reverse up to the end.

Medlam Drain. We manage to reverse up through these reeds, to within sight of
Revesby Bridge.

Coming back down Medlam Drain. Lapwater Farm Footbridge.
Coming back down Medlam Drain.
Medlam Drain. Approaching the White Hart Inn Bridge in Frithville and junction with West Fen Drain. West Fen Drain Beyond.

Medlam Drain. Going under the White Hart Inn Bridge in Frithville
Looking back at Medlam Drain to the right and West Fen Drain to the left. West
Fen Drain.

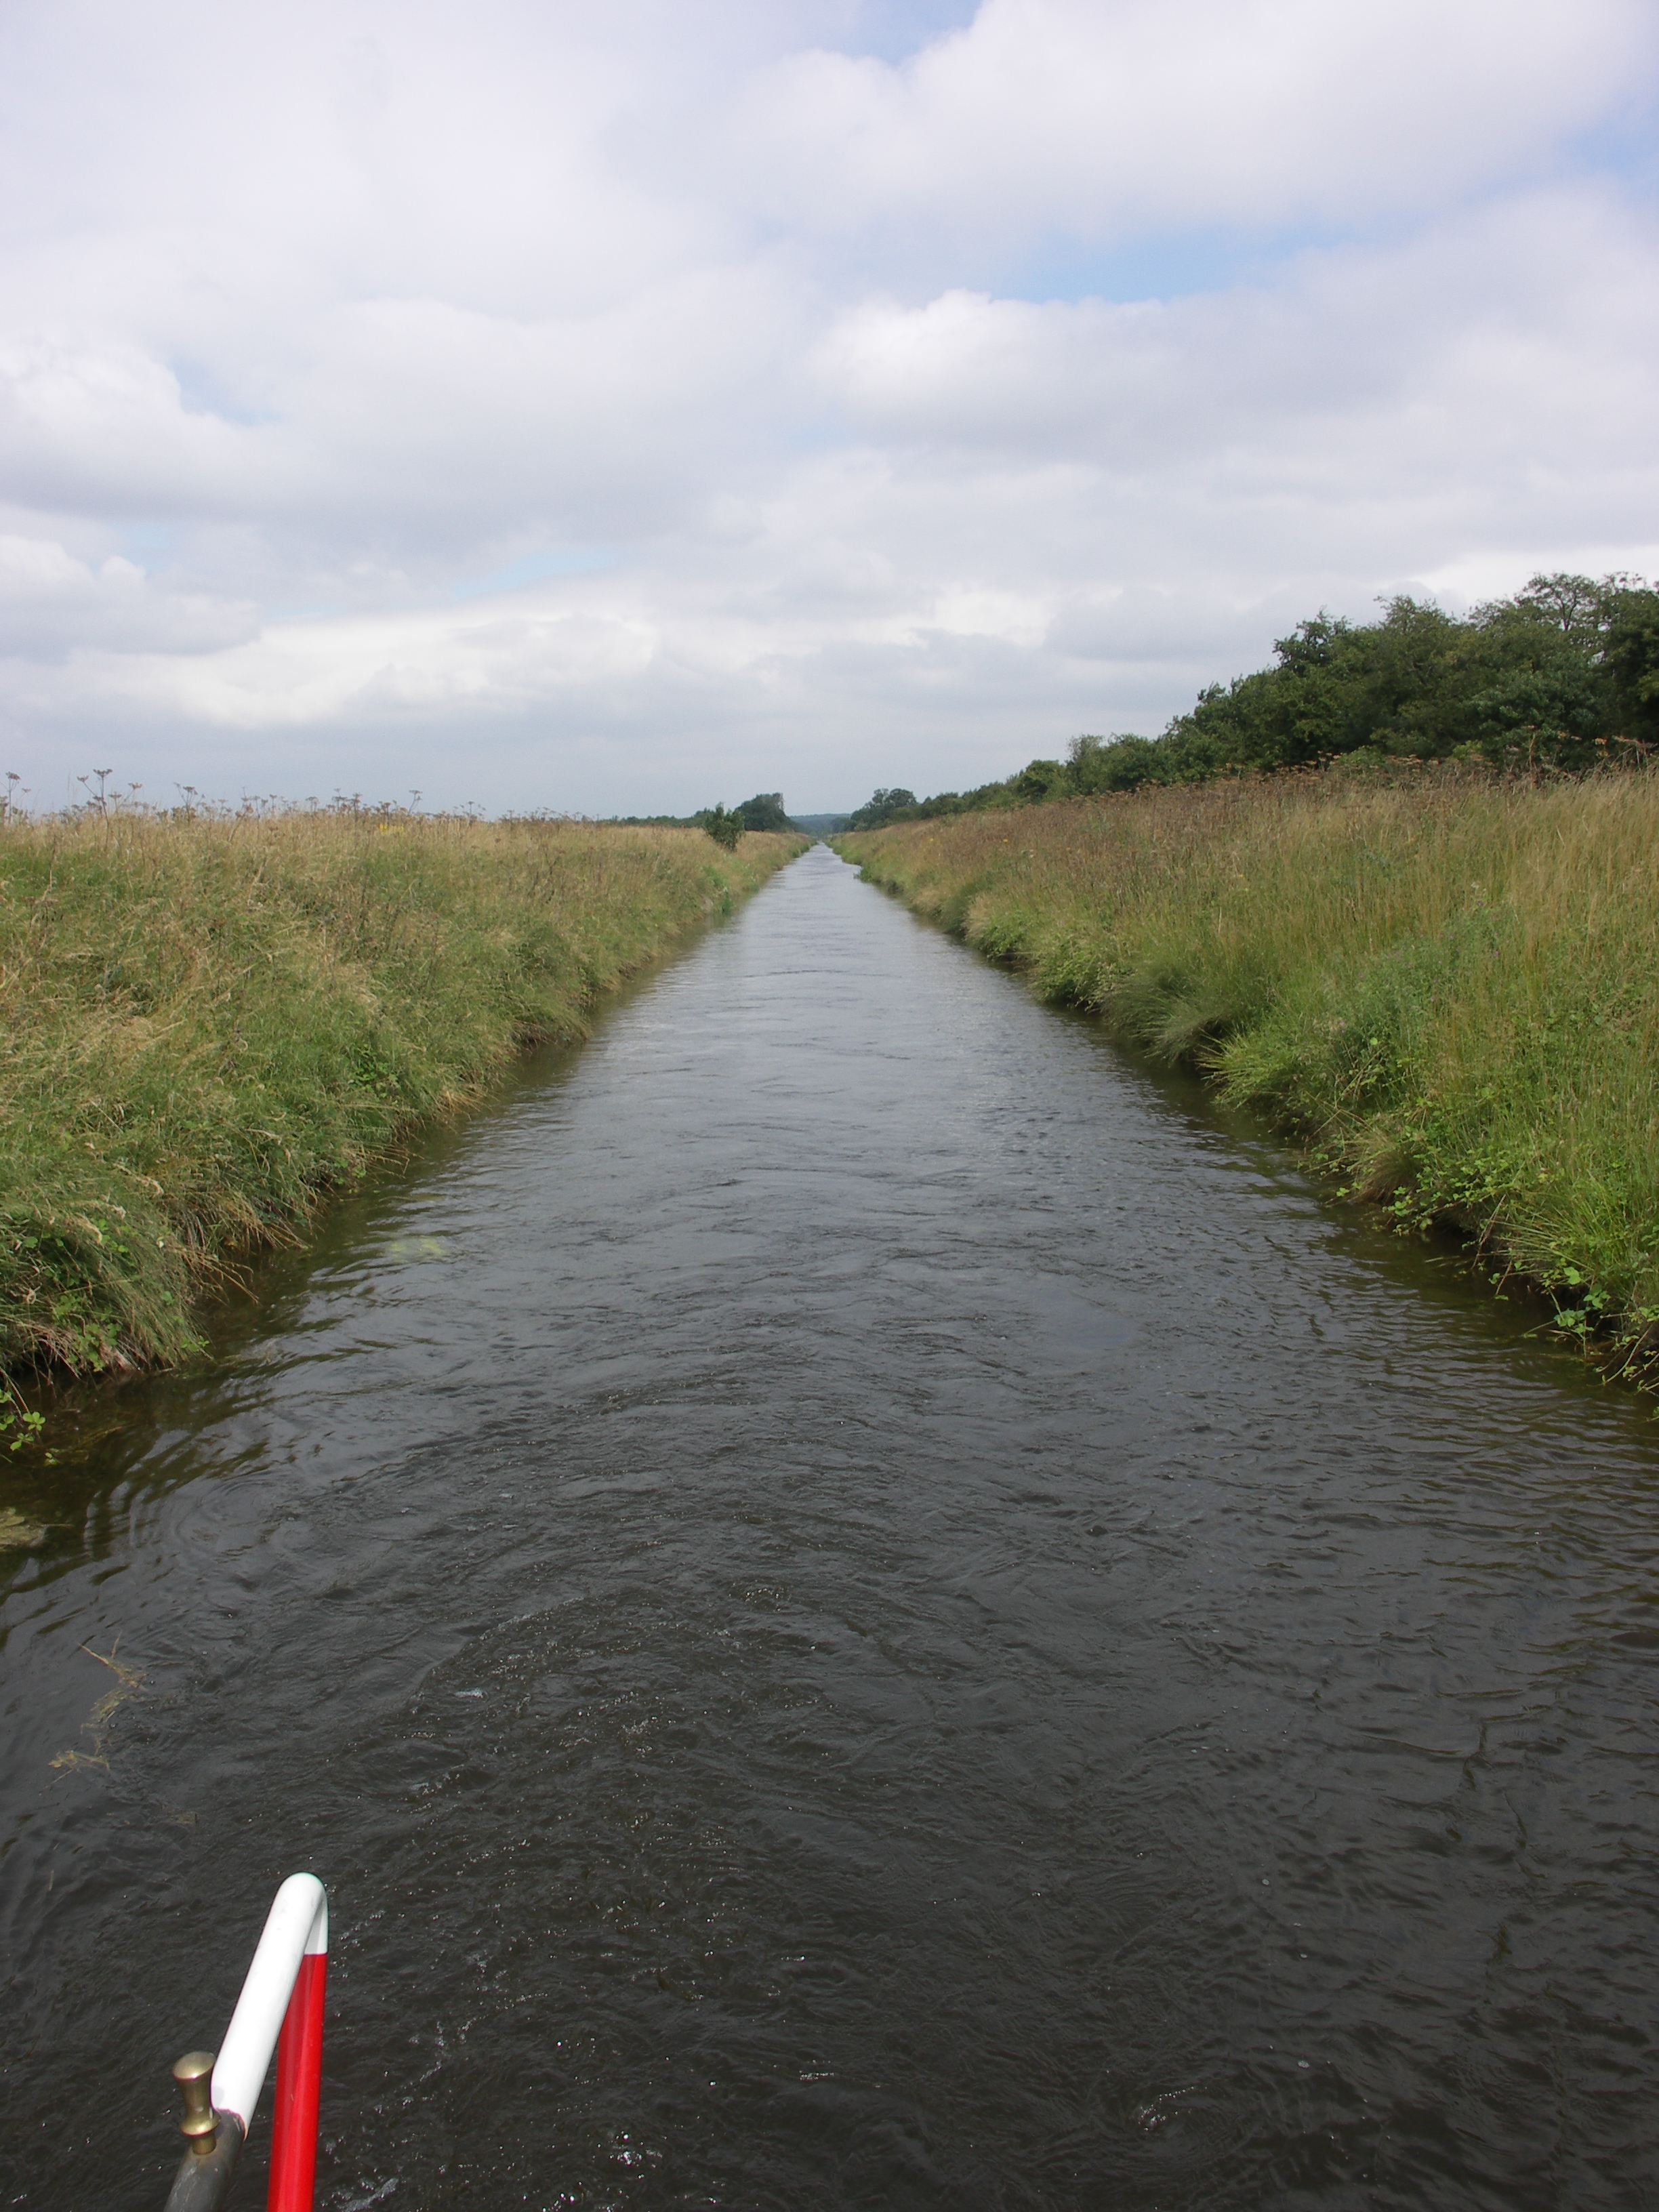
West Fen Drain.

Kitchen's Bridge. West Fen Drain.

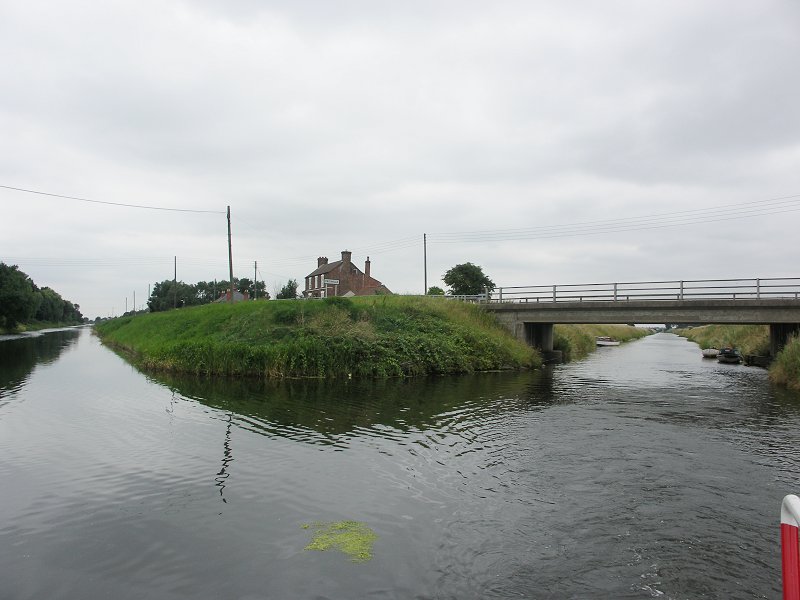
Cowbridge. West Fen Drain. The sluices to the left lead to Cowbridge Drain.

Cowbridge. West Fen Drain. Cowbridge Lock and sluices ahead, Frith Bank Drain
and exit from the Witham Navigable Drains at Anton's Gowt to the right under
Paul's Bridge.

Cowbridge. West Fen Drain. Paul's Bridge and Frith Bank Drain.

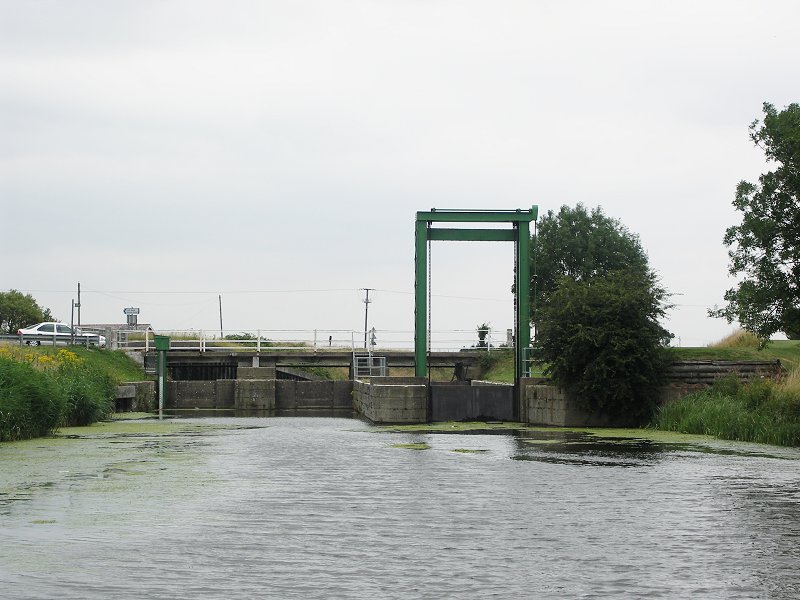
Cowbridge Lock.

Cowbridge Lock.

Cowbridge Lock.

Cow Bridge. Maud Foster Drain. Stonebridge Drain to the left.
Looking back at Cowbridge Lock. Maud Foster Drain.

Cowbridge House Inn. Maud Foster Drain.
Cowbridge. Maud Foster Drain. Rawsons Bridge, railway bridge beyond.

Cowbridge. Maud Foster Drain. Looking back at railway bridge and Rawsons Bridge.
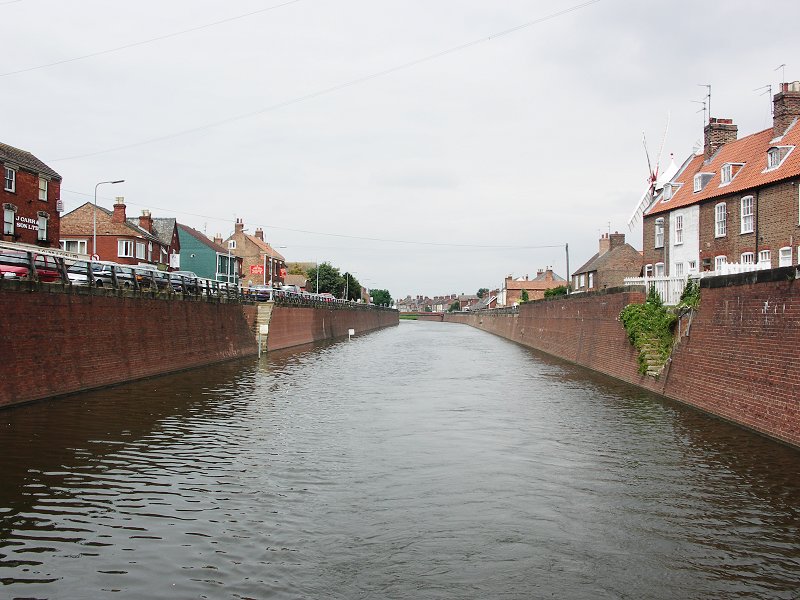
Approaches to Boston. Maud Foster Drain.

Boston. Maud Foster Drain.
Boston. Maud Foster Drain. Maud Foster windmill.

Boston. The listed brick walled Maud Foster Drain.

Boston. The listed brick walled Maud Foster Drain.

Boston. Maud Foster Drain. Maud Foster windmill.

Boston. Maud Foster Drain. The town steps on the left side and the EA anti mooring signs.
Boston. Maud Foster Drain. Looking back.
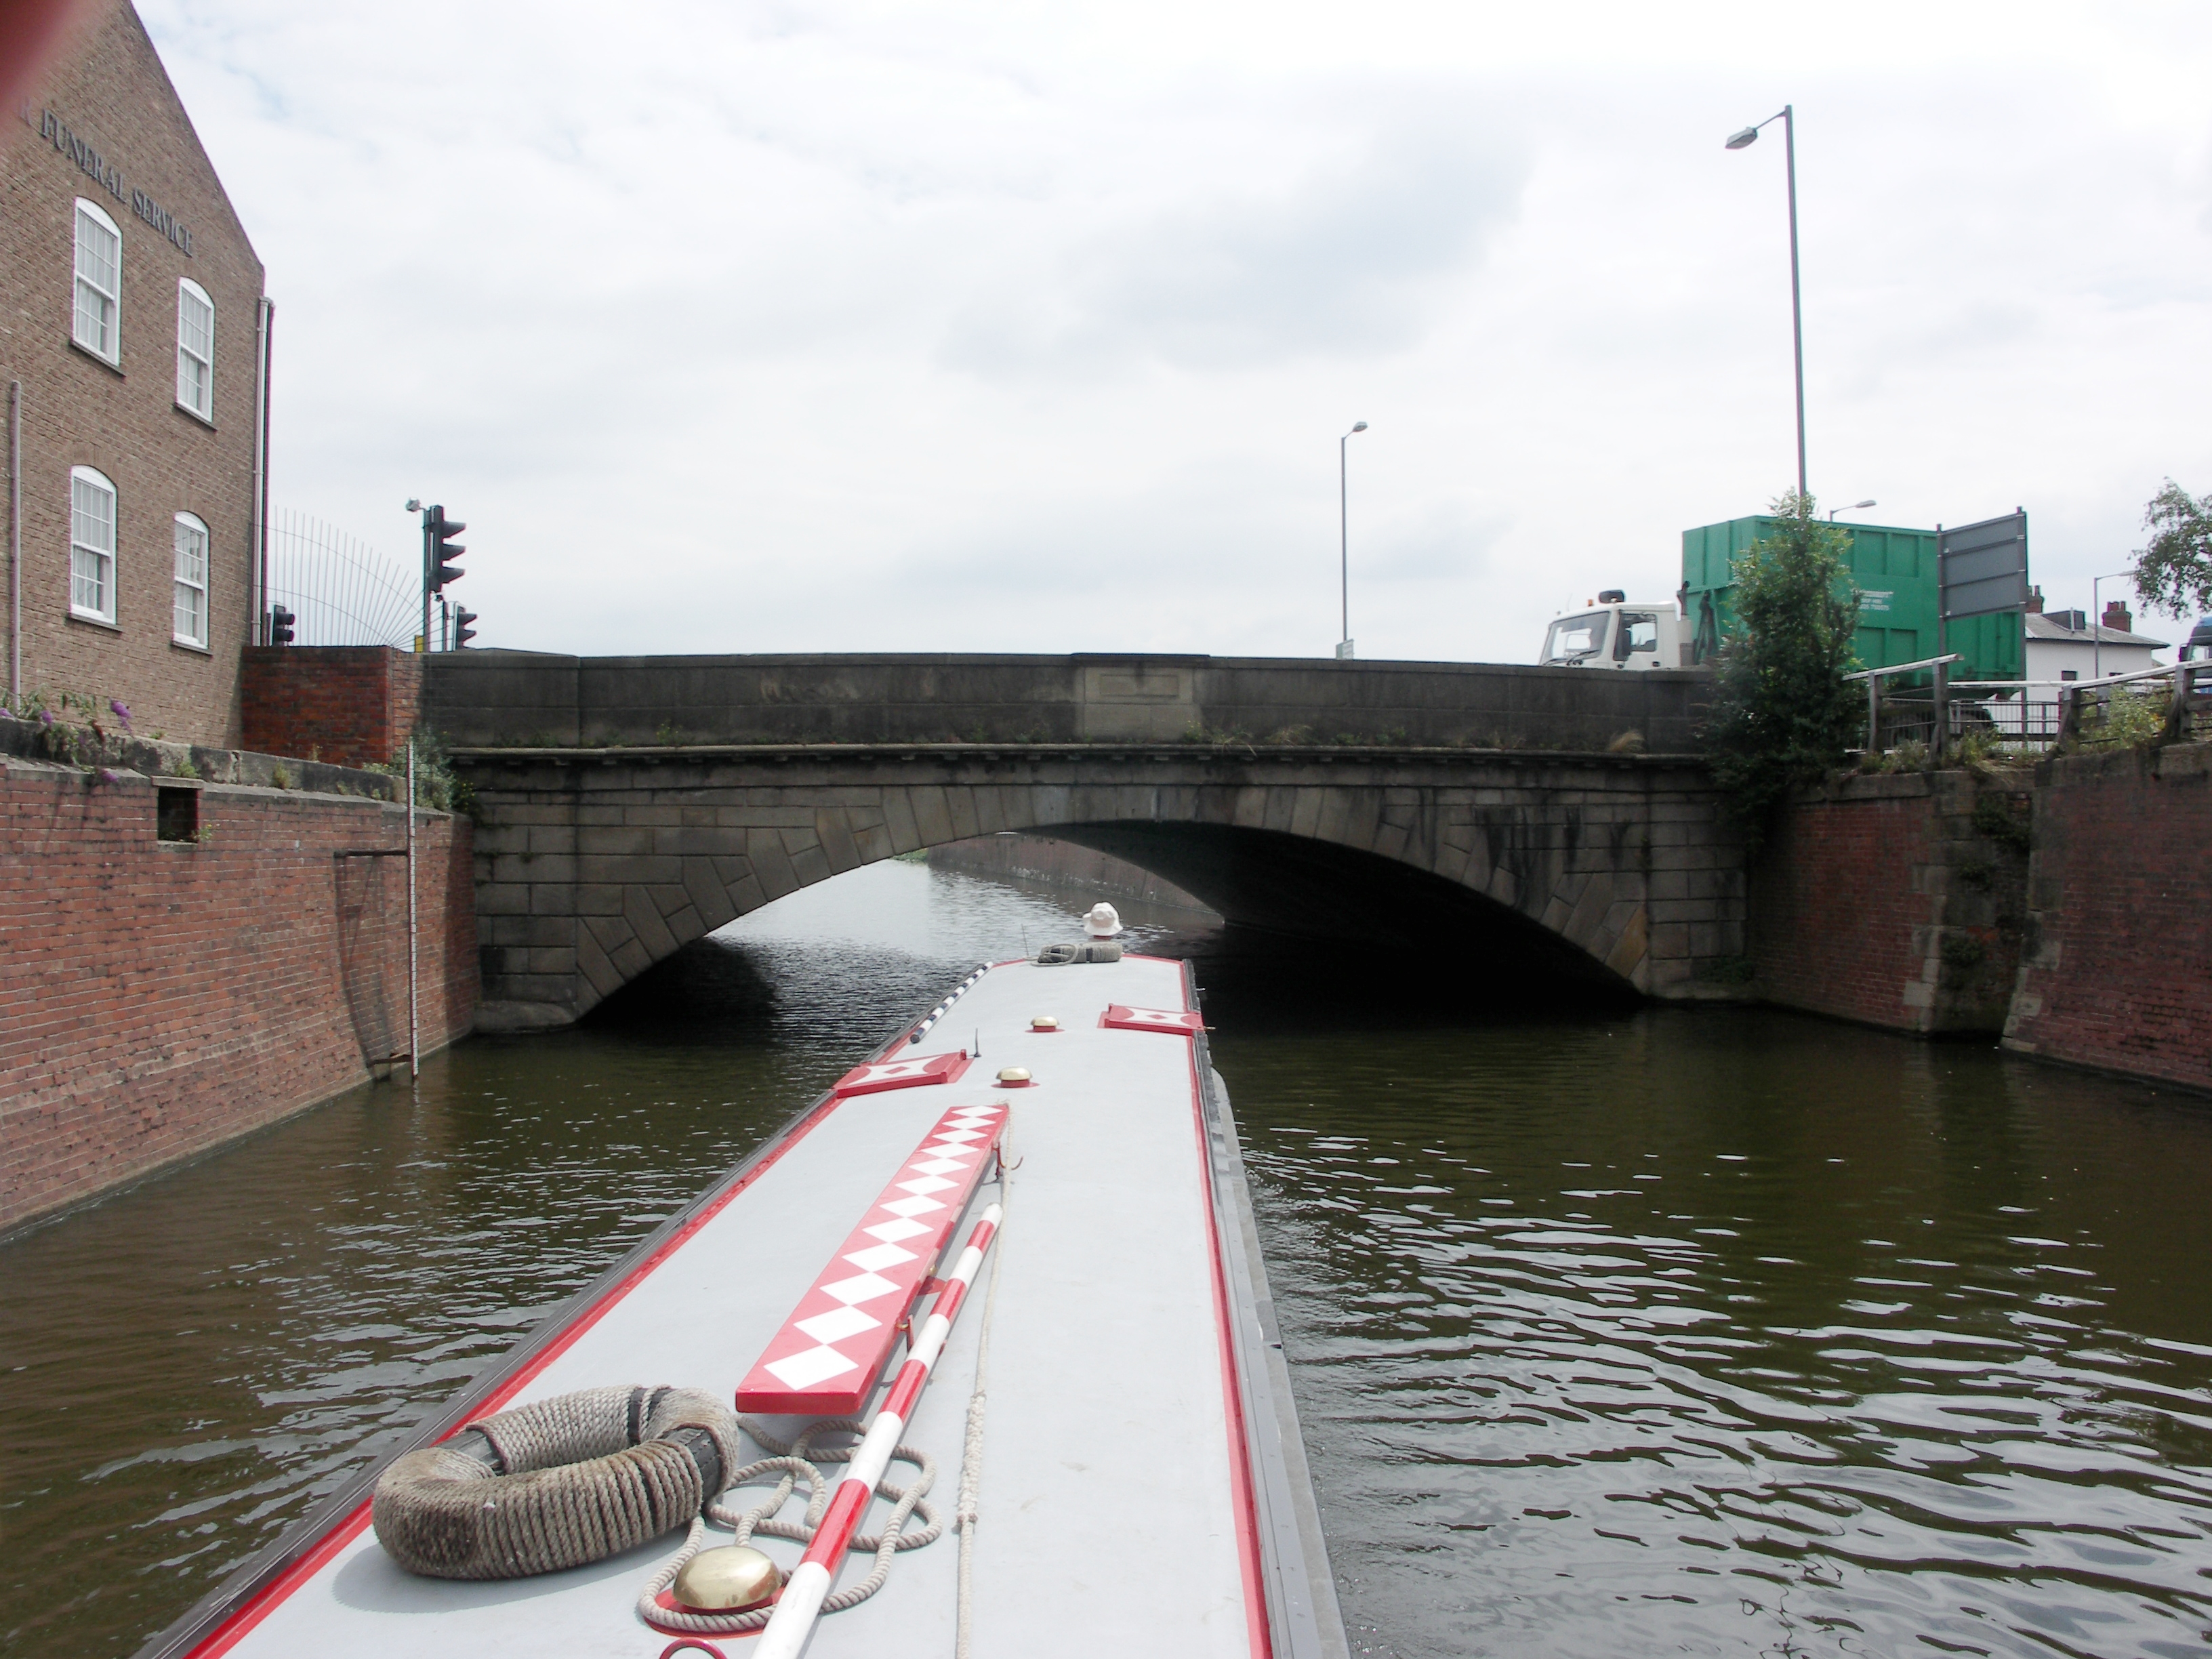
Boston. Maud Foster Drain. Bargate Bridge.

Boston. Maud Foster Drain. Looking back at Bargate Bridge.
Boston. Maud Foster Drain. Going down to the sluice.

Boston. Maud Foster Drain. Going down to the sluice.

Boston. Maud Foster Drain. Mount Bridge.

Boston. Maud Foster Drain. Maud Foster Sluice. Tidal River Witham Beyond.

Boston. Coming back up Maud Foster Drain. Mount Bridge.

Boston. Coming back up Maud Foster Drain.

Boston. Coming back up Maud Foster Drain.

Back at Cowbridge. Starting up Stonebridge Drain.

Stonebridge Drain. Cowbridge Drain Aqueduct.
Stonebridge Drain. Going over the Cowbridge Drain Aqueduct.

Stonebridge Drain. Going over the Cowbridge Drain Aqueduct. Looking up at the
sluices from West Fen Drain.

Stonebridge Drain. Going over the Cowbridge Drain Aqueduct. looking down
Cowbridge Drain.

Stonebridge Drain.

Stonebridge Drain. Hale Bridge. Sibsey.

Stonebridge Drain. Sibsey Windmill.

Stonebridge Drain.

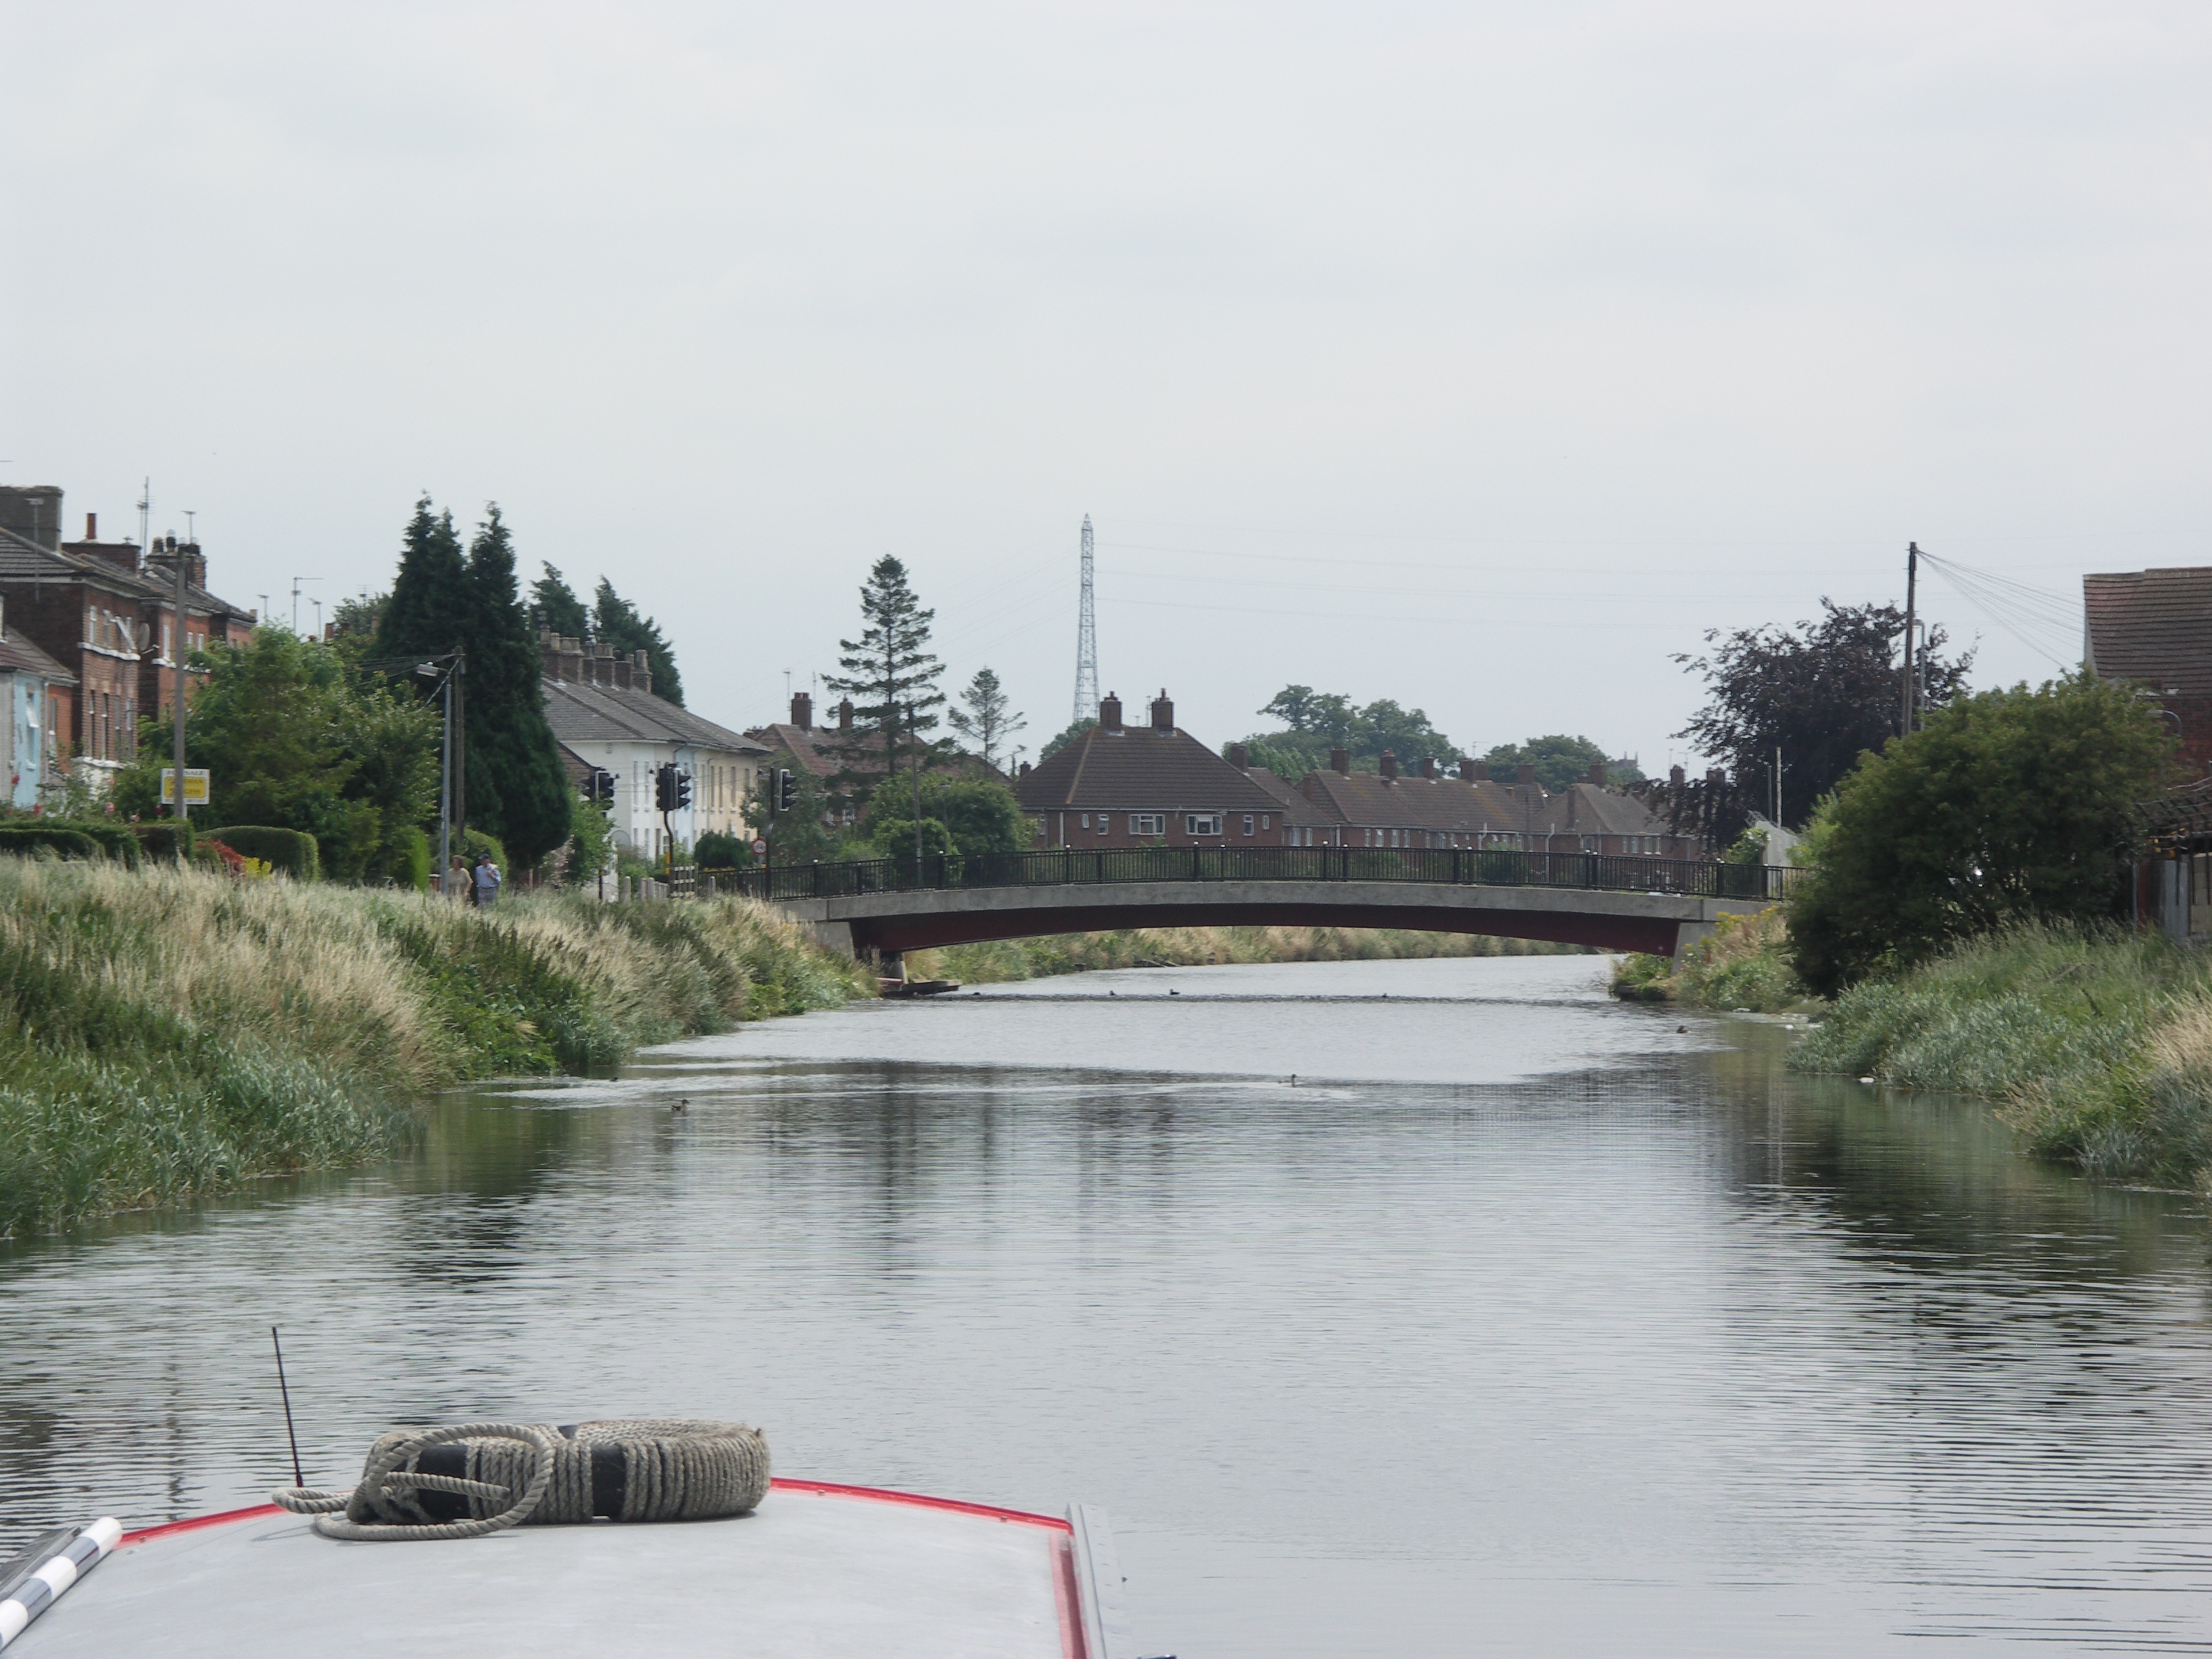
Stonebridge Drain. Northlands Bridge.

The end of Stonebridge Drain. East Fen Catchwater Drain to the left, West Fen Catchwater Drain.

Stonebridge Drain. About to go up the East Fen Catchwater Drain.

Coming back down the West Fen Catchwater Drain

Back at Cowbridge, this is the silted up entrance to the Junction Drain and
derelict East Fen Lock down to Hobhole Drain.

We go back up West Fen Drain for a short distance to reverse up Lush's Drain.
This is the present end of navigation, at this low abandoned footbridge.

Coming back down Lush's Drain.

Leaving Lush's Drain and going back down West Fen Drain to Cowbridge.
Looking back up West Fen Drain.

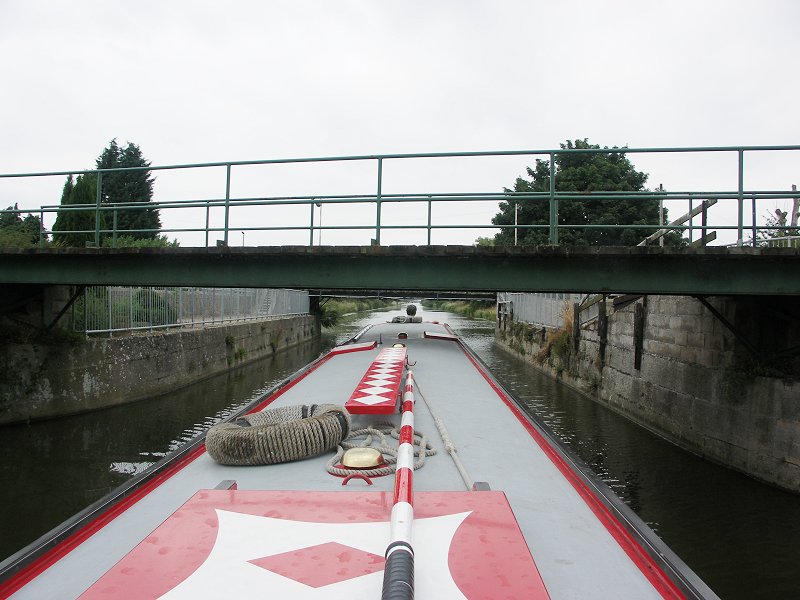
We have just turned into Frith Bank Drain. Paul's Bridge Behind.

Frith Bank Drain
Frith Bank Bridge. Frith Bank Drain.

Frith Bank Drain.

Arrival back at Anton's Gowt Lock. Frith Bank Drain.

Anton's Gowt Lock. Malcolm Arms Inn in distance.
Anton's Gowt Lock.

River Witham. Anton's Gowt. Back on the visitor Moorings.
Home Page | "Earnest" | "Beatty" | Canal Restoration