|
The Tuesday Night Club Official Web Site |
The Tuesday Night Club on Tour
Tour 2003
22 - Skipton To Rodley. Leeds and Liverpool Canal.
Friday 18th July 2003
Greg Chapman jumped ship to collect his car from Lancaster, as we left at
08:40 and then would be joining us later at around Bingley. The Brompton was got out for Trevor to have a go at swing bridge opening, eventually Neil
took over at Kildwick and cycled to Bingley, opening all the bridges as the boat appeared. After an aborted Greg meet up, we eventually all met up at
the top of the Five-Rise (12:40).
The famous Barry was in attendance and we agreed to start down in around half an hours time, after a needed water fill up, lunch and cakes from the
stables cafe. Neil steered, Barry directed and we were soon at the bottom (13:40) We were
surprised at the Three-Rise as a BW bod was conducting operations there, a new development for us. On we clanked towards the "No go" areas of deepest
Kirkstall. We stopped for the night at Rodley, a bit up from the Swing Bridge, on untaken Long Term moorings, just below Owl Swing Bridge No 216.
"The Railway" was our chosen venue for the night. OK bar food and beer. Bob Wood was coming up overnight by coach, then meeting up early in the morning,
so locations were exchanged for around a 07:00 arrival for Bob.
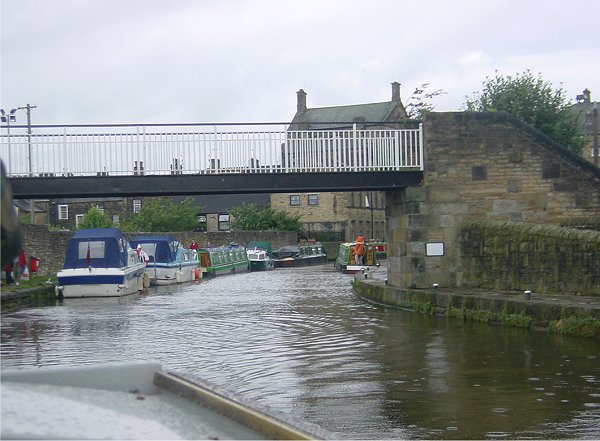
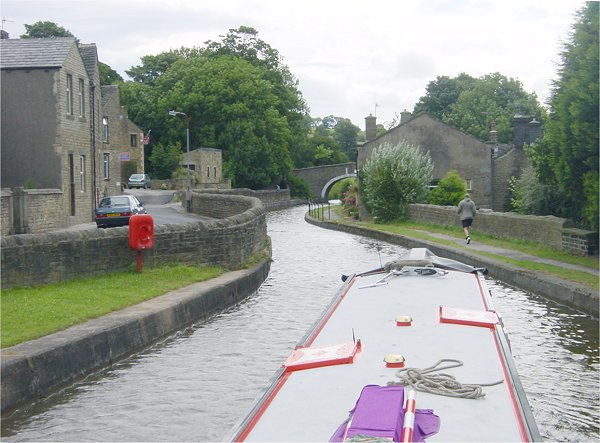
Leaving Skipton. Gallows Footbridge No 179. Leeds and Liverpool Canal.
Leaving Skipton. Pinder Bridge No 179 A in the distance. Leeds and Liverpool
Canal.

Leaving Skipton, looking back at Tin Footbridge No 179 C. Leeds and Liverpool
Canal.
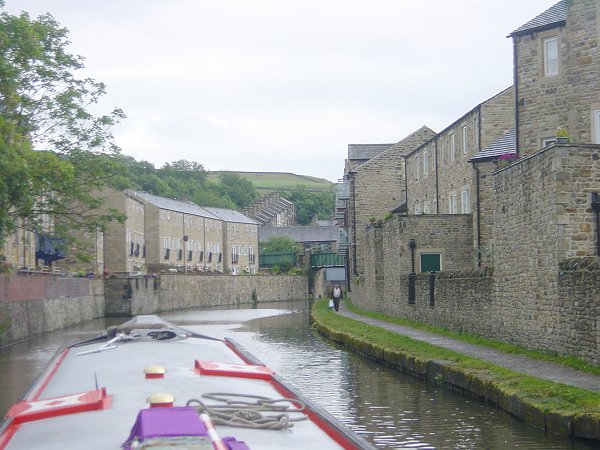
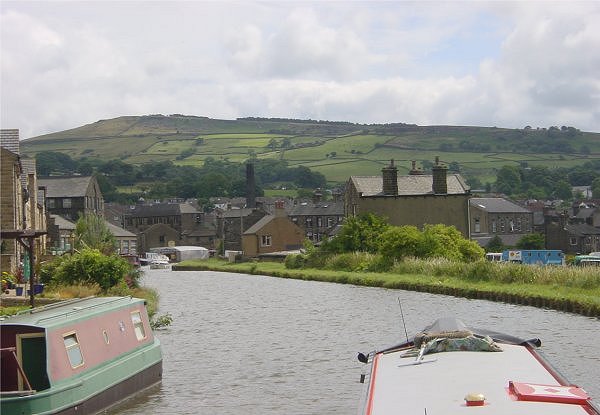
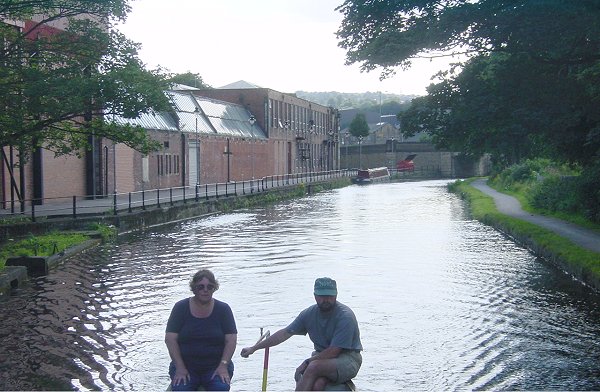
Outskirts of Skipton. Leeds and Liverpool Canal.

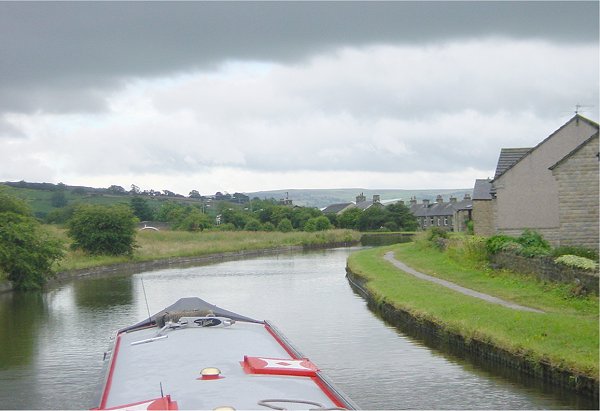
It's started raining again! Leeds and Liverpool Canal.
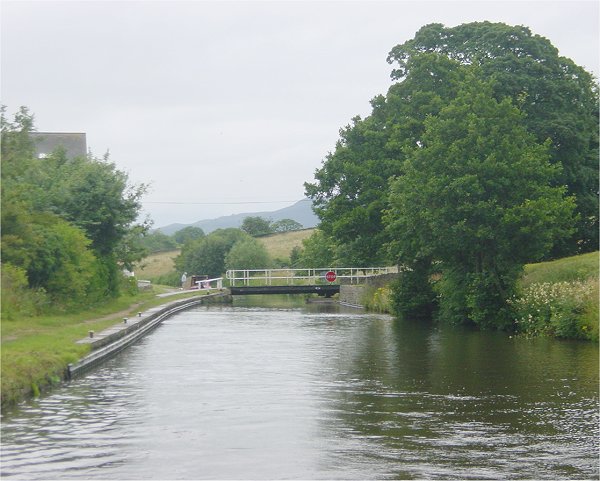
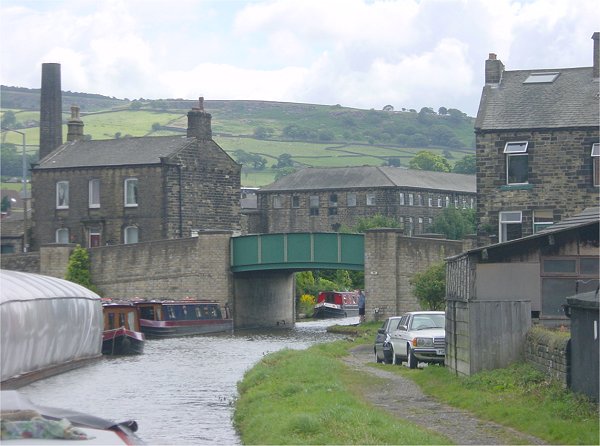
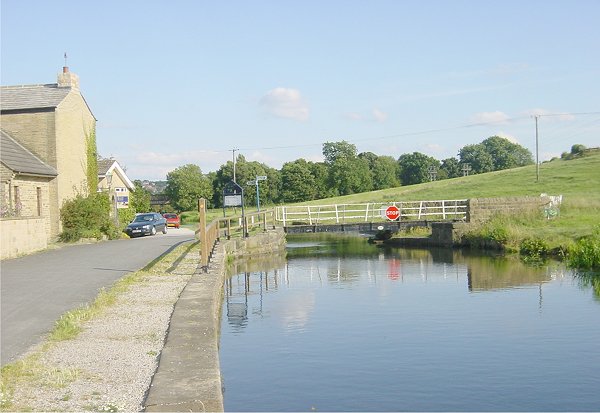
Snaygill Swing Bridge No 181. Leeds and Liverpool Canal.

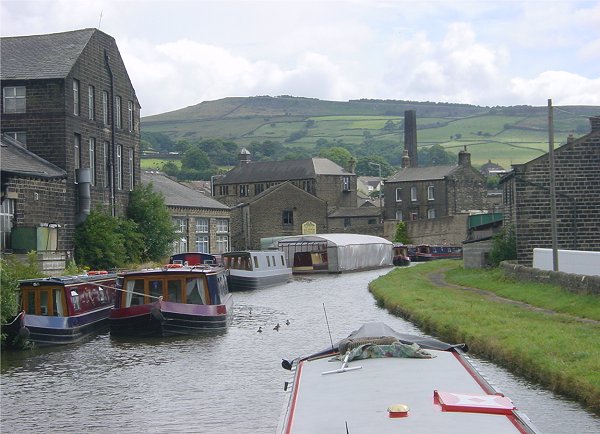
Snaygill Boats. Leeds and Liverpool Canal.
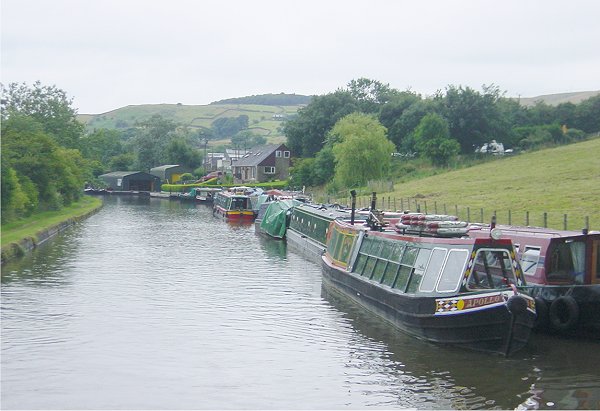
Snaygill Boats. Leeds and Liverpool Canal.

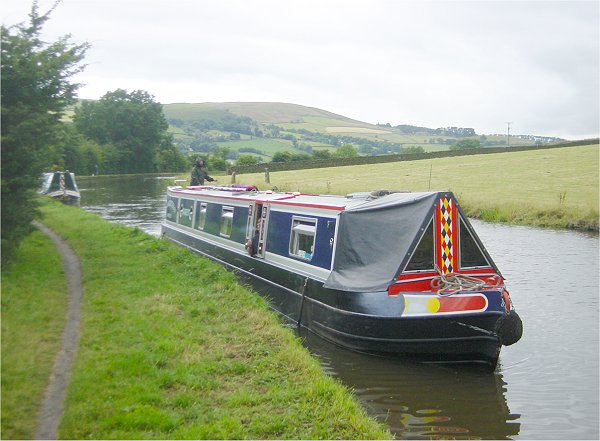
Lower Bradley. Leeds and Liverpool Canal.
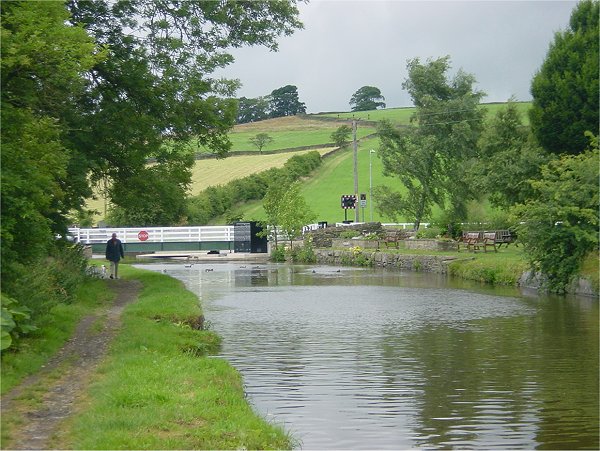
Waiting for Bradley Swing Bridge No 182 A. Leeds and Liverpool Canal.
The newly replaced Bradley Swing Bridge No 182 A. Leeds and Liverpool Canal.
Leaving Lower Bradley. Leeds and Liverpool Canal.
Hamblethorpe Swing Bridge No 183. Leeds and Liverpool Canal.
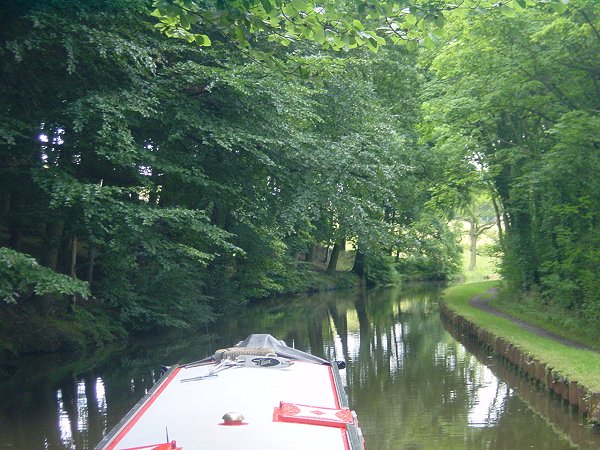
Farnhill Wood. Leeds and Liverpool Canal.
Farnhill Bridge No 183 A. Leeds and Liverpool Canal.
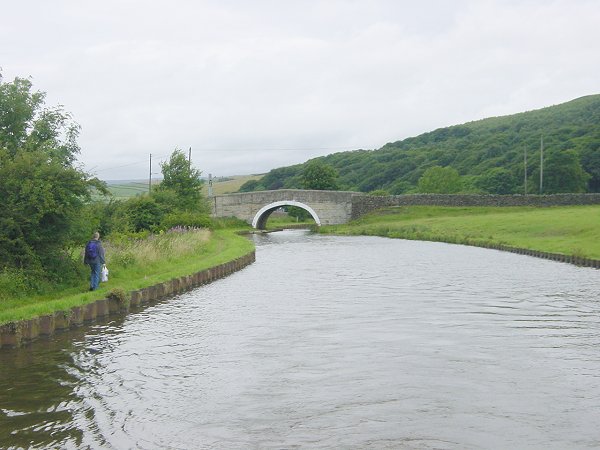
Looking back at Farnhill Bridge No 183 A. Leeds and Liverpool Canal.
Milking Hill Swing Bridge 184. Leeds and Liverpool Canal.

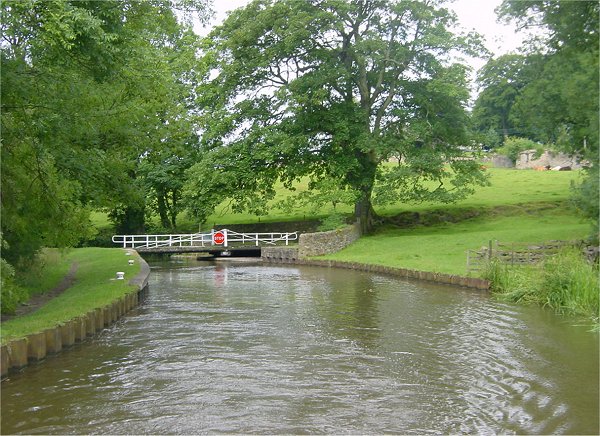
Redman Swing Bridge No 185. Kildwick. Leeds and Liverpool Canal.
Kildwick Under Bridge No 185 A. Leeds and Liverpool Canal.
Looking back at Redman Swing Bridge No 185. Kildwick. Leeds and Liverpool Canal.
Parsons Bridge No 186. Kildwick. Leeds and Liverpool Canal.

Kildwick Under Bridge No 185 A. Leeds and Liverpool Canal.

Looking back at Warehouse Swing Bridge No 187 and Parsons Bridge No 186.
Kildwick. Leeds and Liverpool Canal.
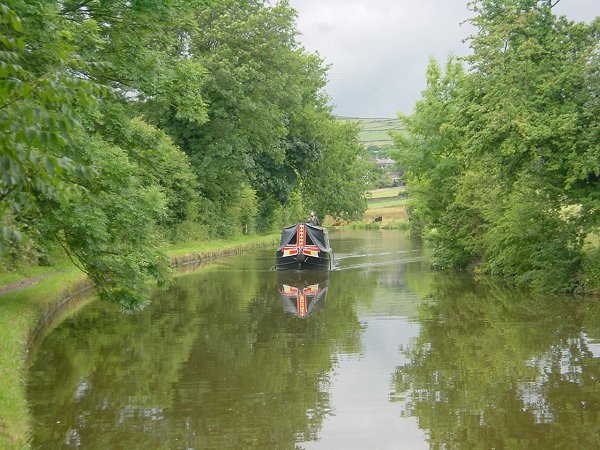
Silsden. Leeds and Liverpool Canal.
Silsden Boats. Leeds and Liverpool Canal.
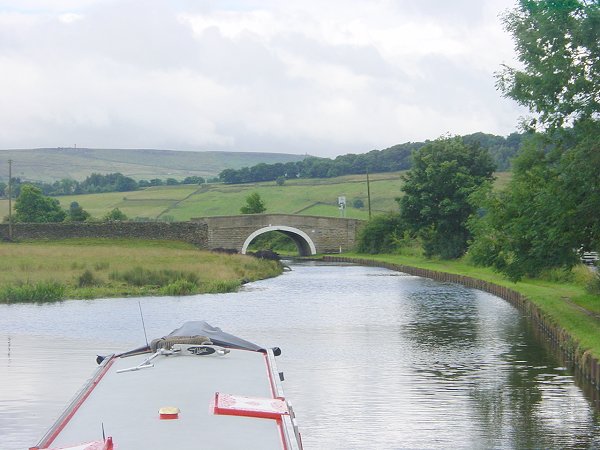
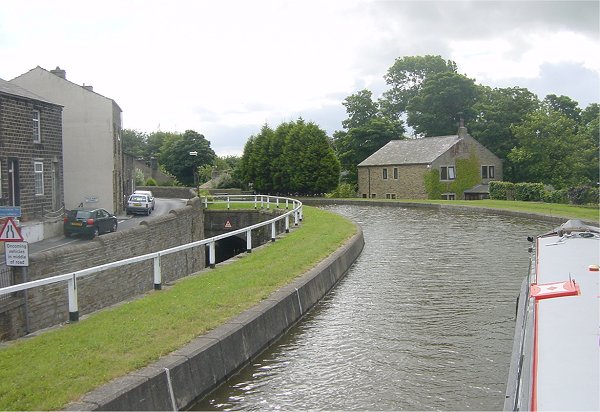
Silsden Bridge No 191 A. Leeds and Liverpool Canal.

Silsden Bridge No 191 A. Bridge Inn on the left. Leeds and Liverpool Canal.

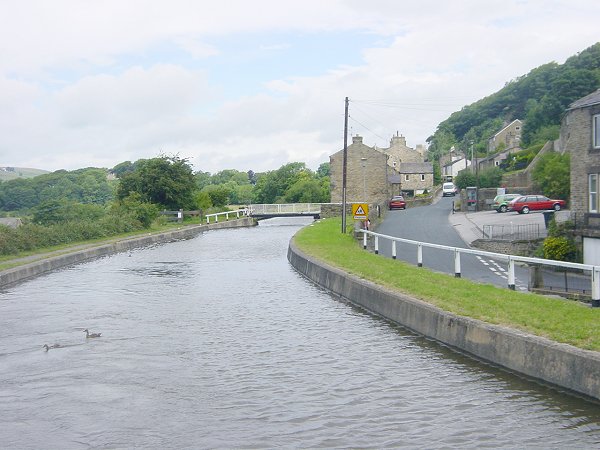
Silsden. Leeds and Liverpool Canal.

Silsden. Leeds and Liverpool Canal.
![]()
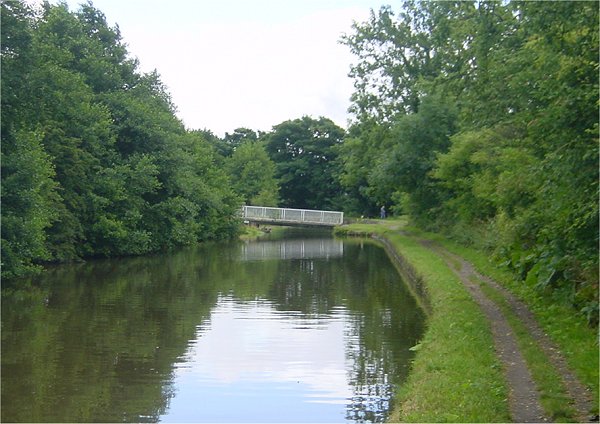
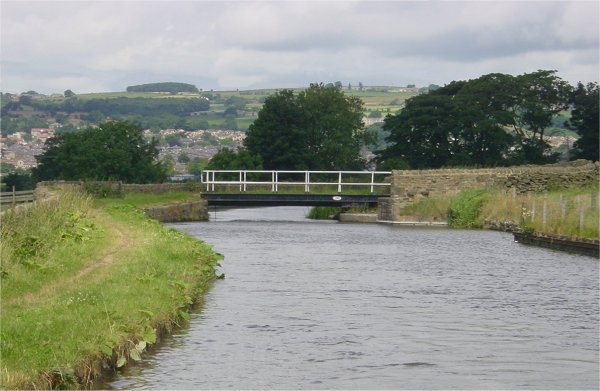
Brunthwaite Swing Bridge No 192. Leeds and Liverpool Canal.
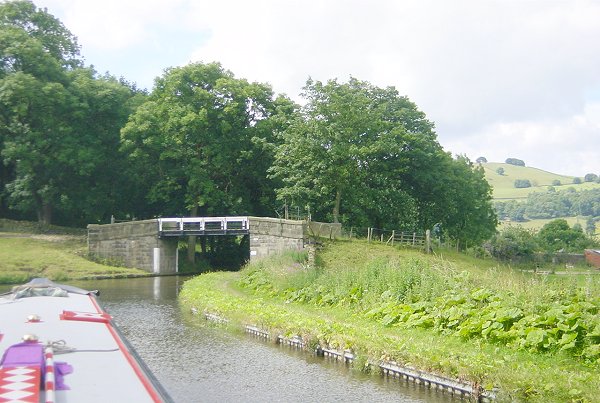
Holden Swing Bridge No 193. Leeds and Liverpool Canal.
Lodge Hill Bridge No 194. Leeds and Liverpool Canal.

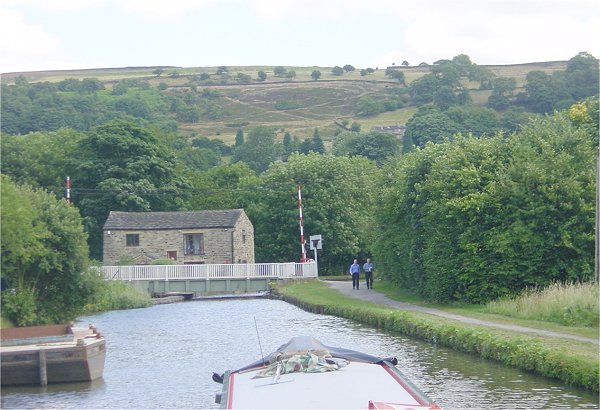
Leache's Swing Bridge No 196. Stockbridge. Leeds and Liverpool Canal.

Stockbridge Swing Bridge No 197. Stockbridge. Leeds and Liverpool Canal.
Granby Swing Bridge No 197 A. Riddlesden. Leeds and Liverpool Canal.
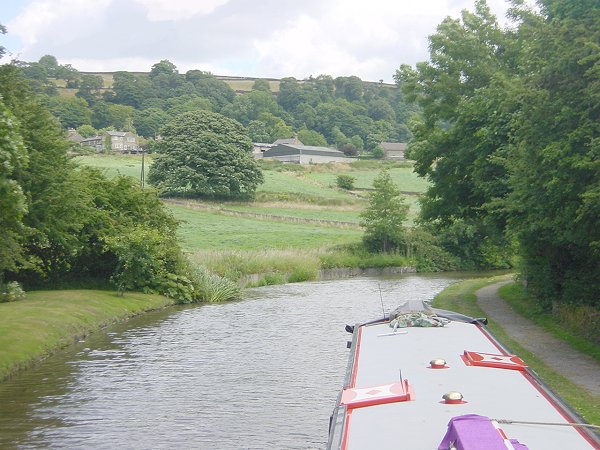
Riddlesden. Leeds and Liverpool Canal.
Micklethwaite swing Bridge No 199. Crossflatts. Leeds and Liverpool Canal.

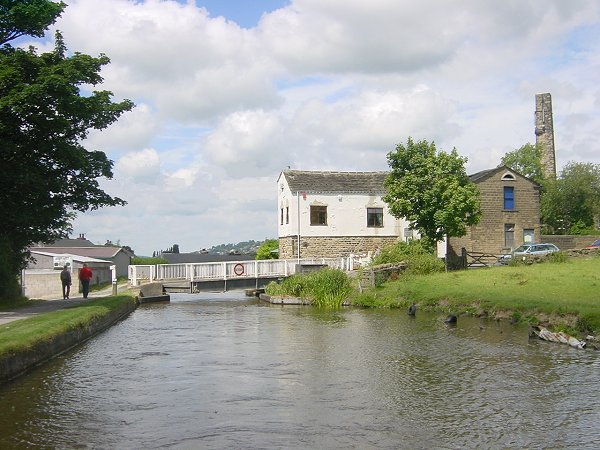
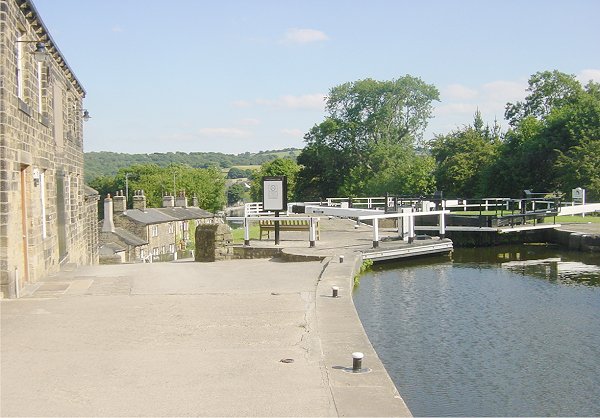
Sanitary Station and tea rooms in old stable block at the top of the Bingley
Five-Rise. Leeds and Liverpool Canal.
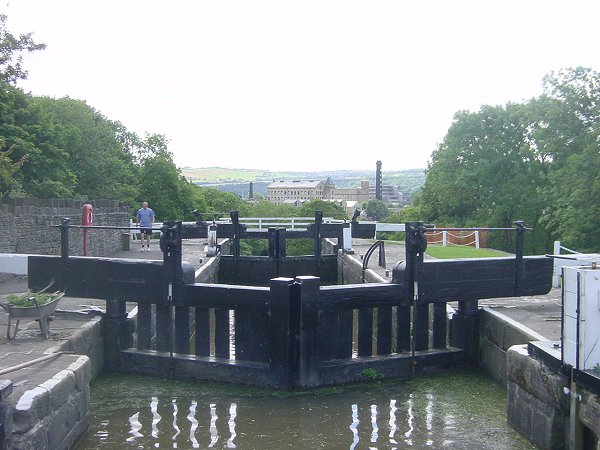
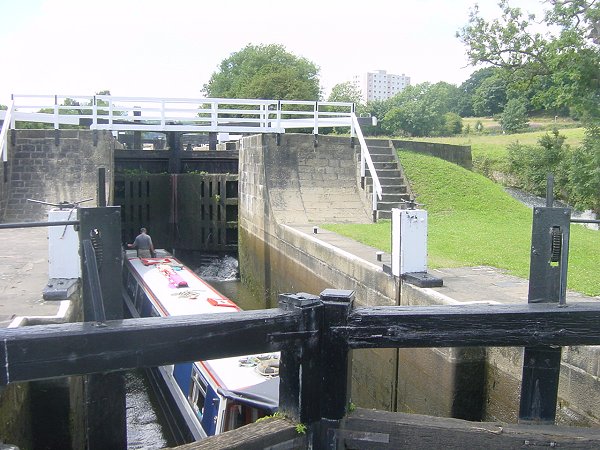
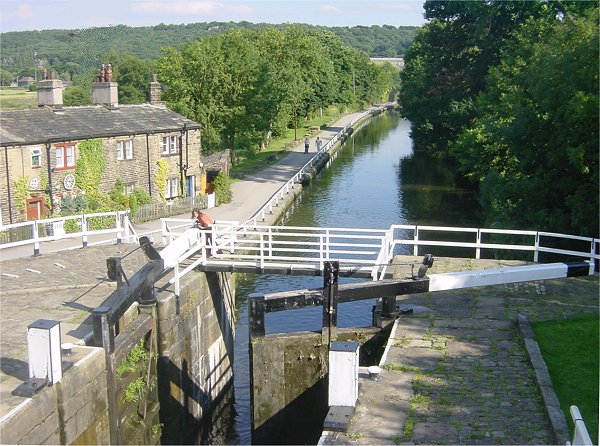
Bingley Five-Rise Locks No 29 - 25. Leeds and Liverpool Canal.
Looking back up from the Bingley Five-Rise. Leeds and Liverpool Canal.
Bingley Five-Rise Locks No 29 - 25. Leeds and Liverpool Canal.
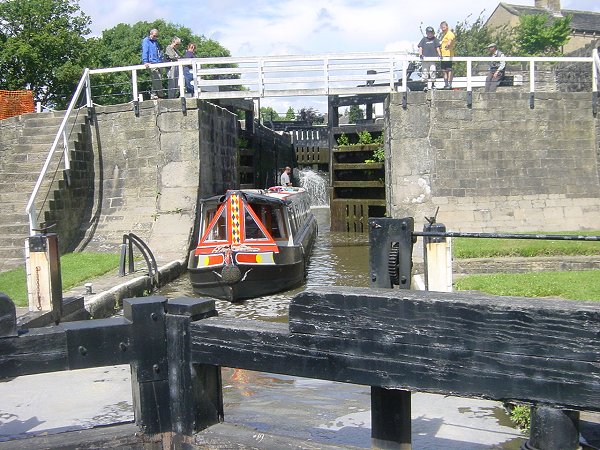
Bingley Five-Rise Locks No 29 - 25. Leeds and Liverpool Canal.
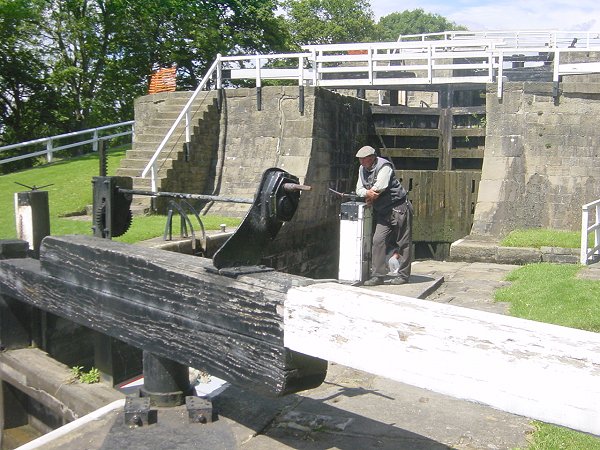
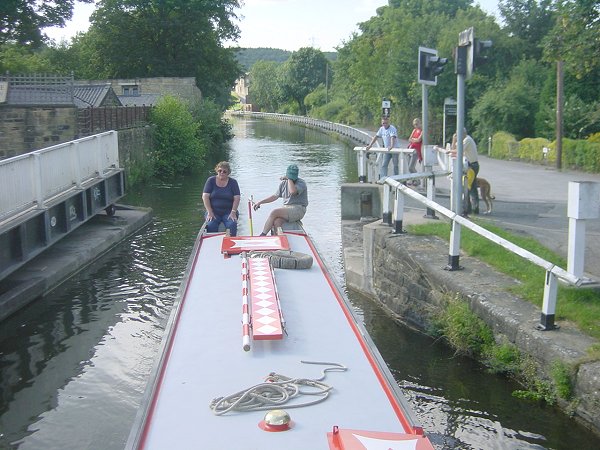
Bingley Five-Rise Locks No 29 - 25. Barry looks on like a hawk! Leeds and
Liverpool Canal.
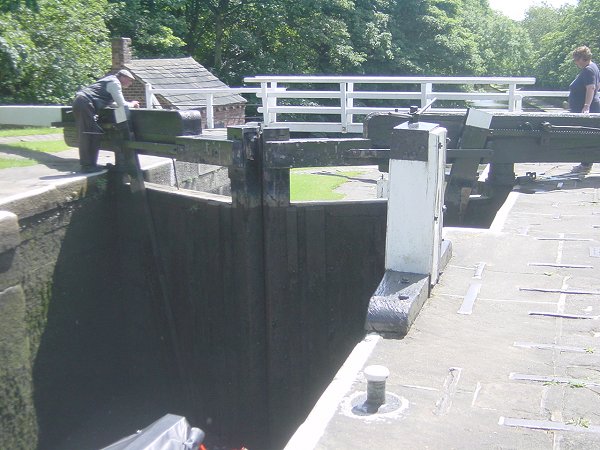
Bingley Five-Rise Locks No 29 - 25. Leeds and Liverpool Canal.
Bingley Five-Rise Locks No 29 - 25. Leeds and Liverpool Canal.
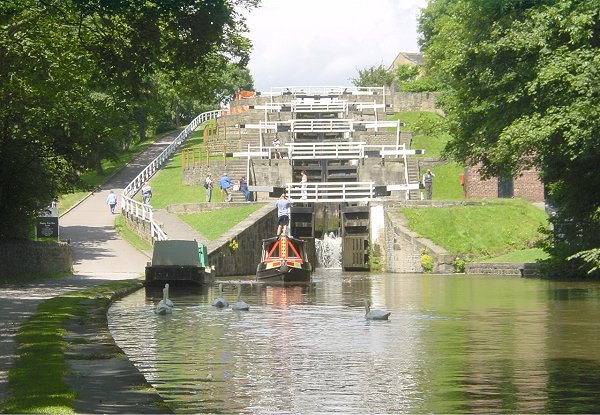
Bingley Five-Rise Locks No 29 - 25. Leeds and Liverpool Canal.

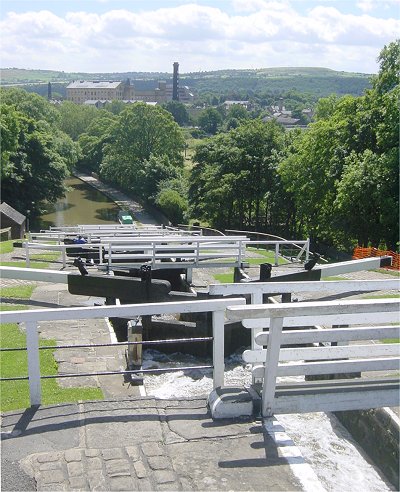
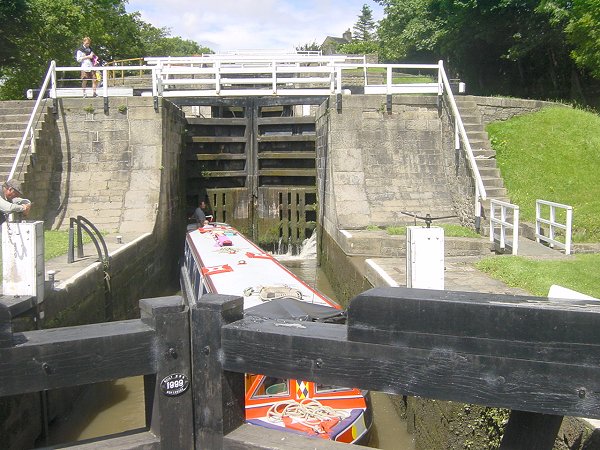
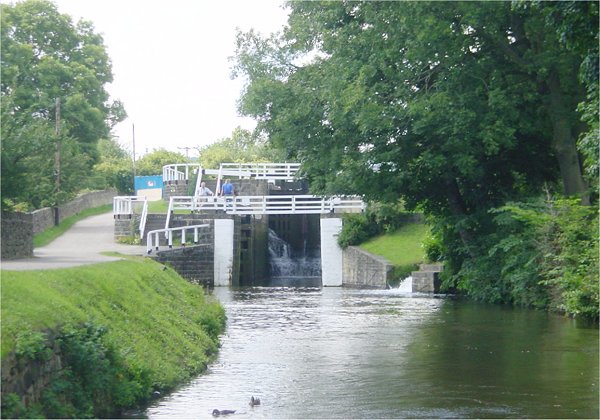
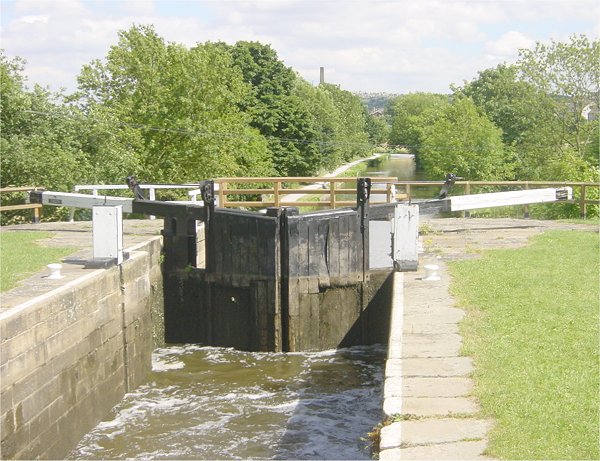
Bingley Three-Rise Locks No 24 - 22. Leeds and Liverpool Canal.
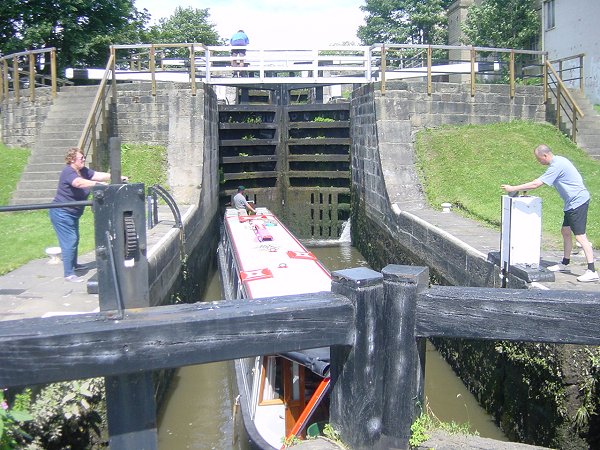
Bingley Three-Rise Locks No 24 - 22. Leeds and Liverpool Canal.
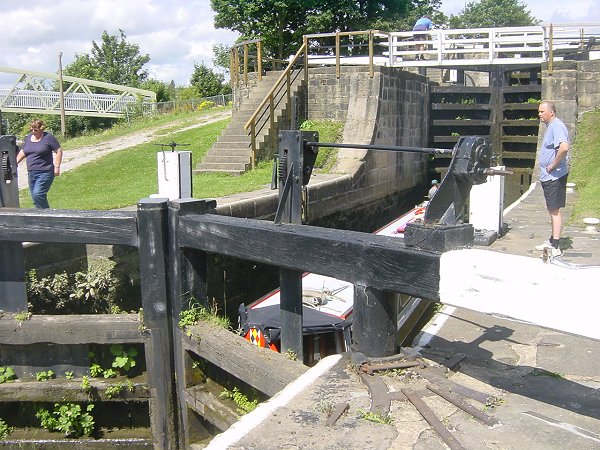
Bingley Three-Rise Locks No 24 - 22. Leeds and Liverpool Canal.
Bingley Three-Rise Locks No 24 - 22. Leeds and Liverpool Canal.

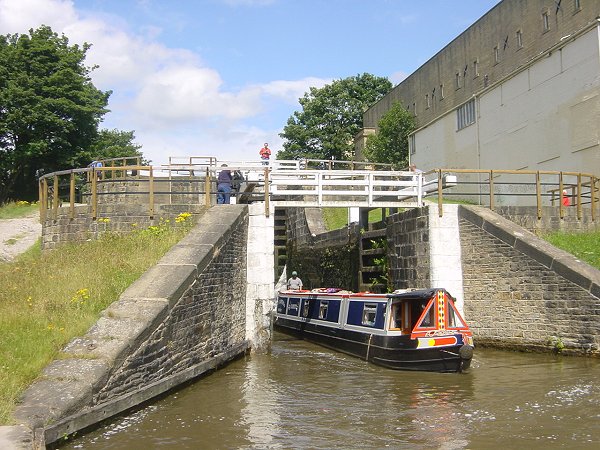
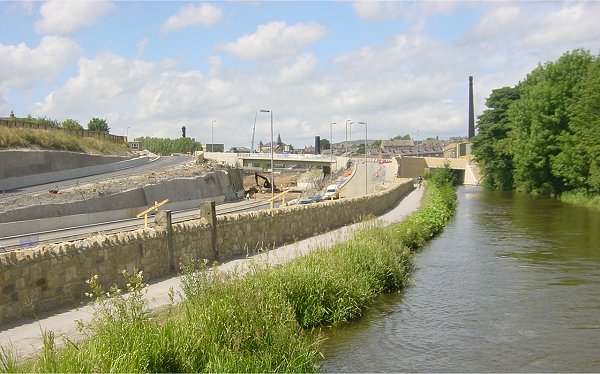
The "new" course of the canal below the Bingley Three-Rise now makes
sense as the road is eventually being built between the canal and railway. New
"Bingley Locks" Footbridge No 201 A. Leeds and Liverpool Canal.

The "new" course of the canal below the Bingley Three-Rise. Park
Bridge No 202. Leeds and Liverpool Canal.
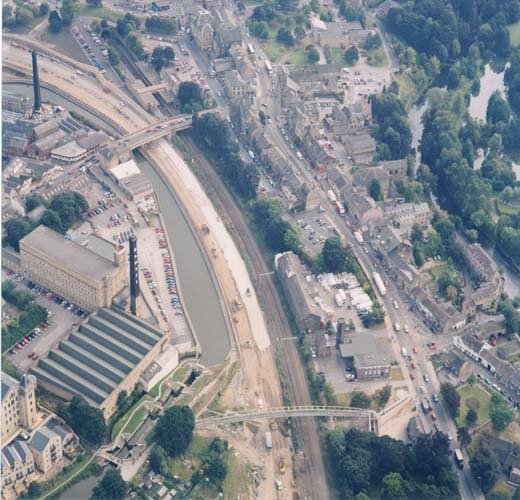
The Three-Rise and new course of the canal from the air. Leeds and Liverpool
Canal.

Approaching the new Britannia Footbridge No 202 A. Leeds and Liverpool Canal.
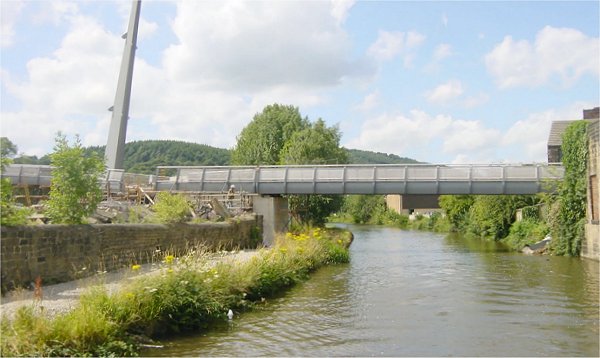
The new Britannia Footbridge No 202 A, over the canal and new road. The pylon will suspend
the bridge on cables. Bingley. Leeds and Liverpool Canal.
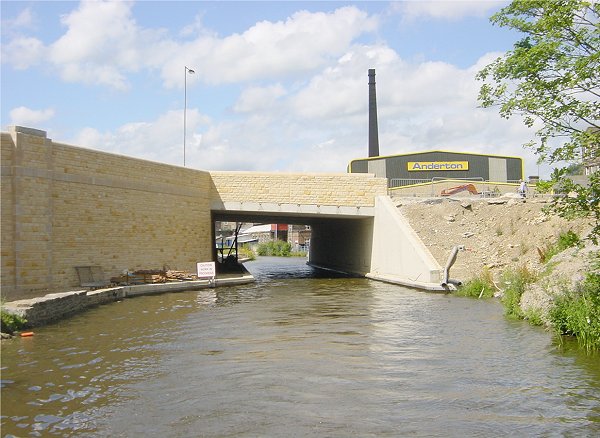
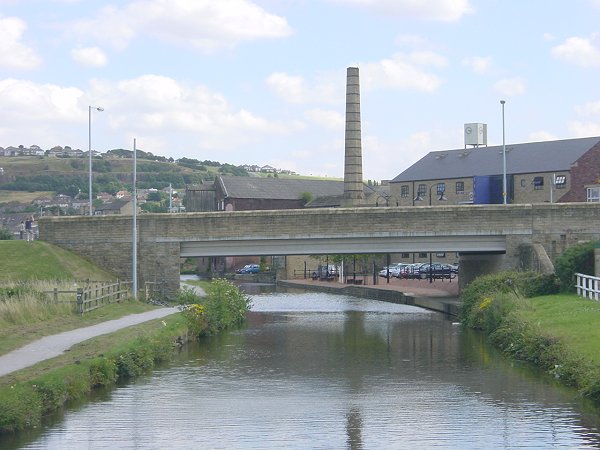
New Ferncliffe Bridge No 203 replaces the old Dubb Bridge No 203. Bingley. Leeds
and Liverpool Canal.
New Ferncliffe Bridge No 203 over the canal and A650 Bingley Relief Road.
Bingley. Leeds and Liverpool Canal.
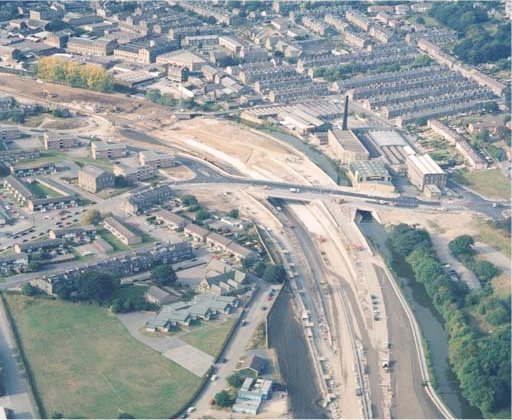
Aerial photo of how the A650 Bingley Relief Road fits in with the canal. Leeds
and Liverpool Canal.
Maud Bridge No 204. Leeds and Liverpool Canal.
Dowley Gap 2-Rise Locks No 21 & 20 and Scourer Bridge No 205. Leeds and
Liverpool Canal.
Looking down from Dowley Gap 2-Rise Locks No 21 & 20 and Scourer Bridge No
205. Leeds and Liverpool Canal.
Dowley Gap 2-Rise Locks No 21 & 20. Leeds and Liverpool Canal.
Dowley Gap 2-Rise Locks No 21 & 20. Leeds and Liverpool Canal.
One of the wide Silsden Hire Boats going through Dowley Gap Changeline Bridge No
206. Leeds and Liverpool Canal.

River Aire Aqueduct. Dowley Gap. Leeds and Liverpool Canal.
Hirst Mill Swing Bridge No 207 and Hirst Lock No 19. Leeds and Liverpool Canal.
Hirst Lock No 19. Leeds and Liverpool Canal.
Hirst Mill Swing Bridge No 207. Leeds and Liverpool Canal.

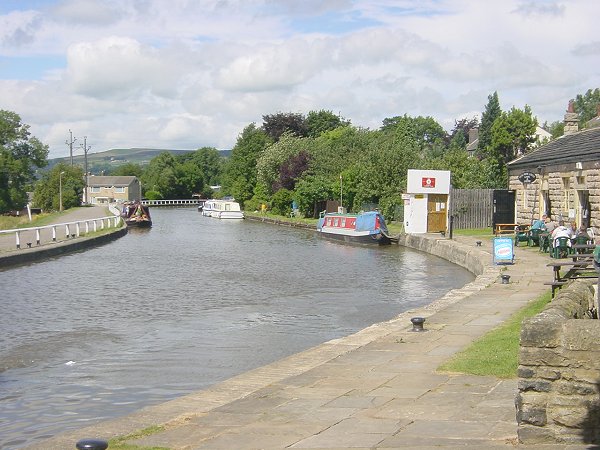
Saltaire. Leeds and Liverpool Canal.

Saltaire. Leeds and Liverpool Canal.
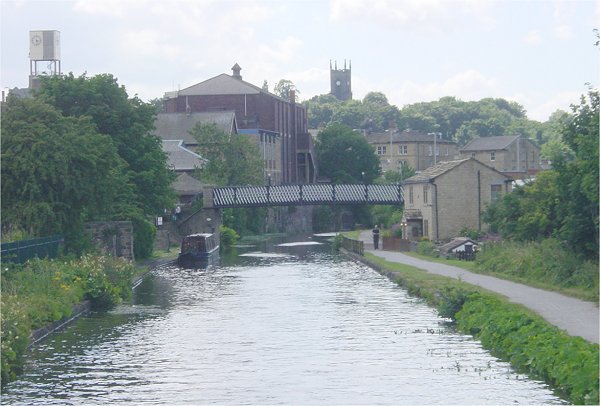
Saltaire and Bridge No 207 E. Leeds and Liverpool Canal.
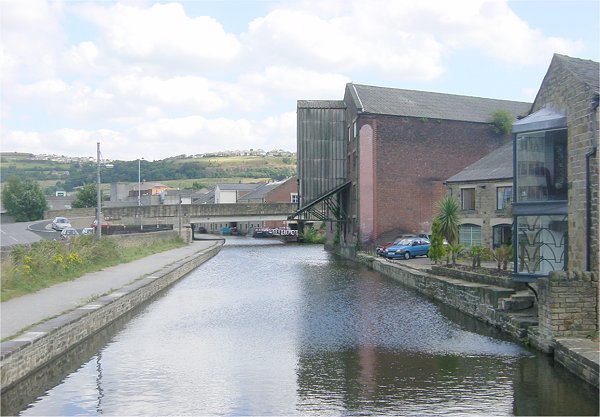
Shipley. Victoria Street Bridge No 207 B. Leeds and Liverpool Canal.
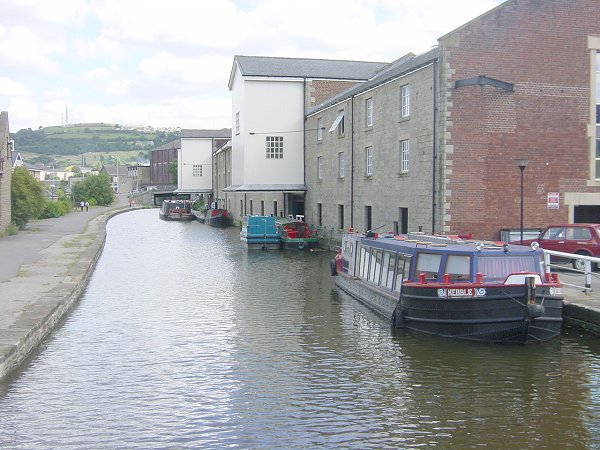
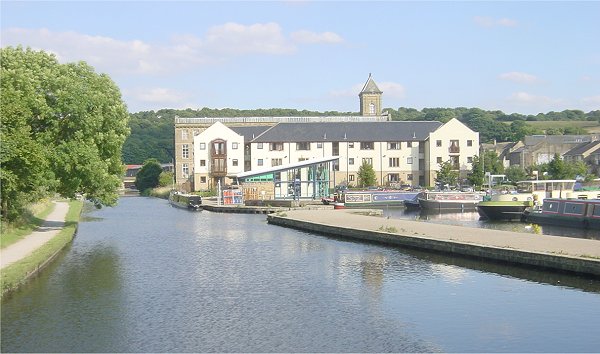
Shipley Wharf. Leeds and Liverpool Canal.

Shipley Wharf. Leeds and Liverpool Canal.
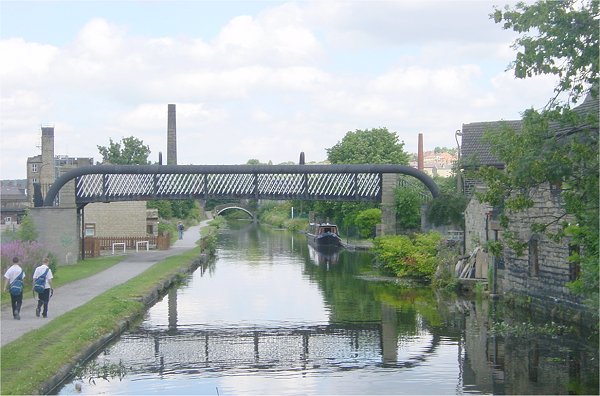
Gallows Footbridge No 207 D. Junction Bridge No 208 in the distance. Shipley.
Leeds and Liverpool Canal.
Junction Bridge No 208. Shipley. Leeds and Liverpool Canal.
Looking back at Gallows Footbridge No 207 D. Shipley. Leeds and Liverpool Canal.

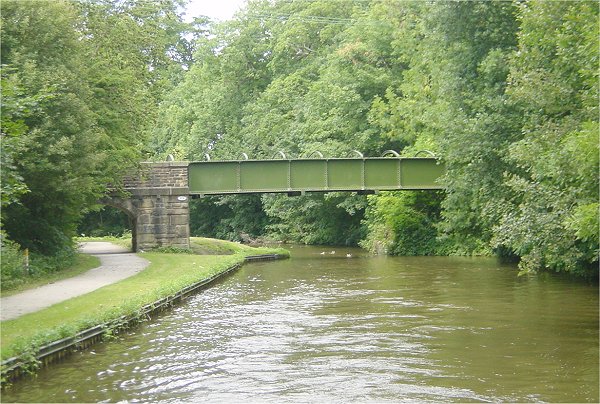
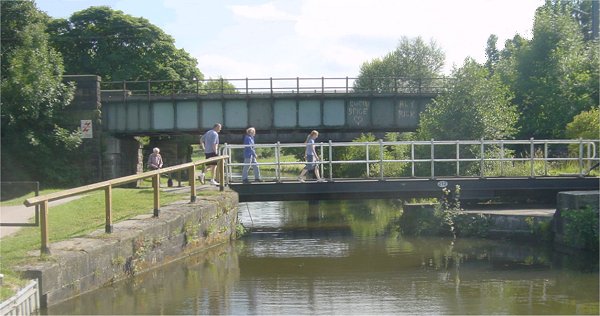
Railway Bridge and Oddies Swing Bridge No 210. Leeds and Liverpool Canal.

Thackley. Leeds and Liverpool Canal.
Buck Hill Swing Bridge No 211. Leeds and Liverpool Canal.
Looking back at Buck Hill Swing Bridge No 211. Leeds and Liverpool Canal.

Field Three-Rise Locks No 18 - 16. Leeds and Liverpool Canal.

Field Three-Rise Locks No 18 - 16. Leeds and Liverpool Canal.
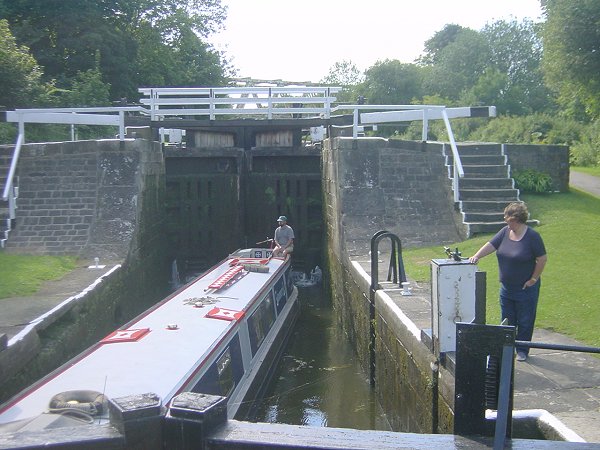
Field Three-Rise Locks No 18 - 16. Leeds and Liverpool Canal.

Field Three-Rise Locks No 18 - 16. Disused Railway Bridge No 211 A beyond. Leeds
and Liverpool Canal.
Idle Swing Bridge No 212 and Railway Bridge 212 A. Leeds and Liverpool Canal.

Coming down into Apperley Bridge. Leeds and Liverpool Canal.

Looking back at Railway Bridge 212 A and Idle Swing Bridge No 212. Leeds and
Liverpool Canal.
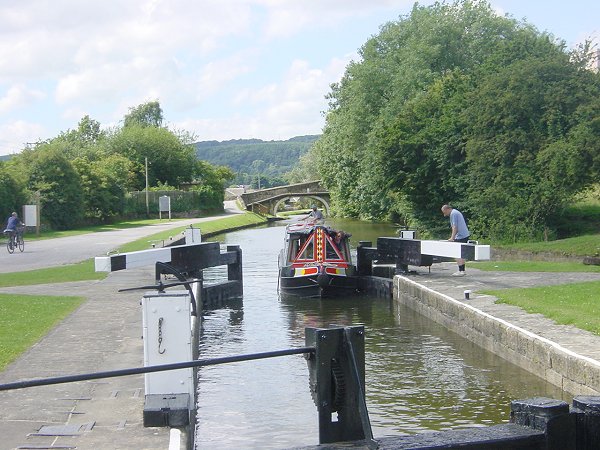
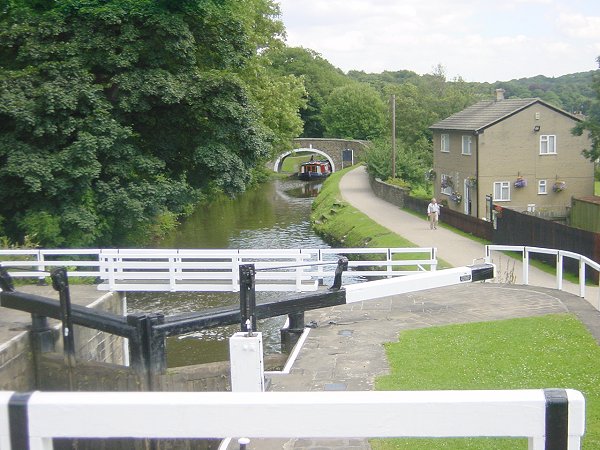
Dobson Two-Rise Locks No 15 - 14. Apperley Bridge. Leeds and Liverpool Canal.
Dobson Two-Rise Locks No 15 - 14. Apperley Bridge. Leeds and Liverpool Canal.

Dobson Two-Rise Locks No 15 - 14. Apperley Bridge. Leeds and Liverpool Canal.

Millman Swing Bridge No 214. Apperley Bridge. Leeds and Liverpool Canal.
Millman Swing Bridge No 214. Apperley Bridge. Leeds and Liverpool Canal.
Calder Valley Marine at Apperley Bridge. Leeds and Liverpool Canal.
Looking back at Harrogate Road Bridge No 214 A. Leeds and Liverpool Canal.
Moorings just below Thornhill Bridge No 214 B. Leeds and Liverpool Canal.
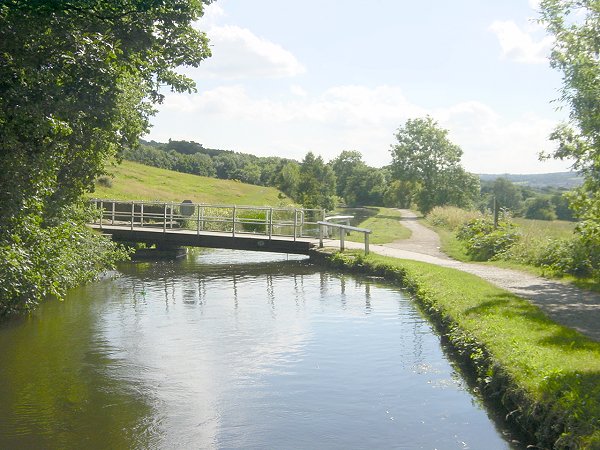
Calverley Lodge Swing Bridge No 215. Leeds and Liverpool Canal.
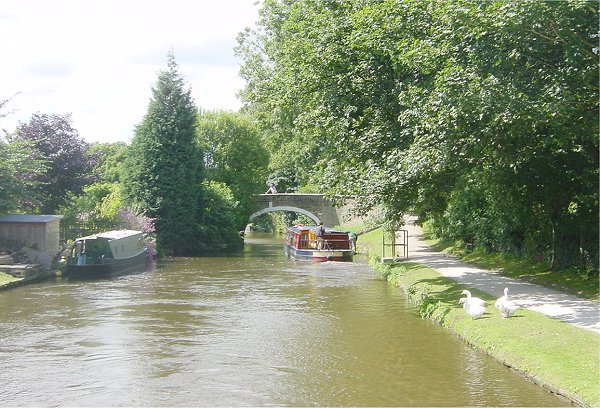
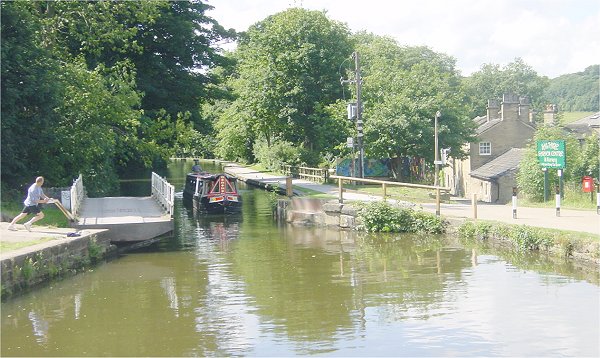
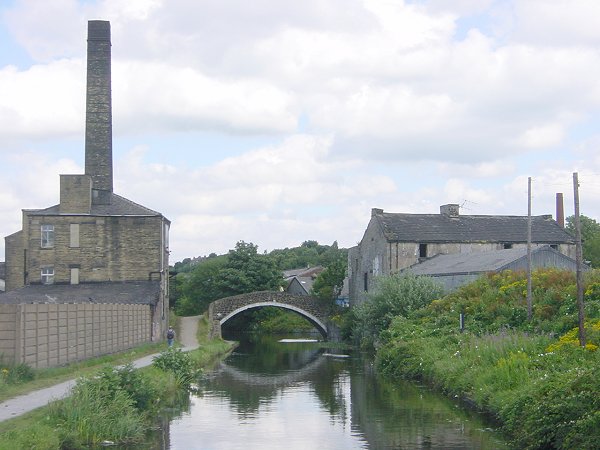
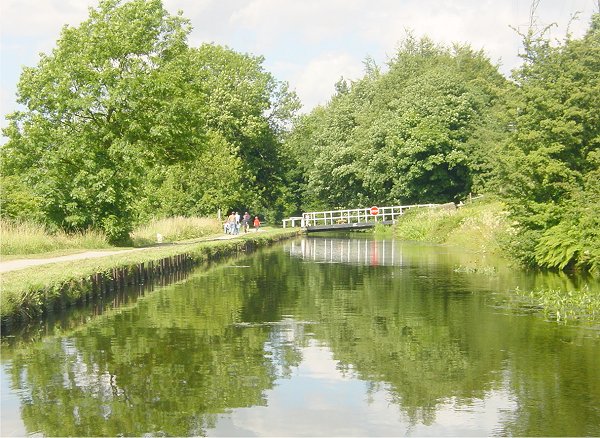
Owl Swing Bridge No 216. Rodley. Leeds and Liverpool Canal.
Owl Swing Bridge No 216 from our overnight mooring. Rodley. Leeds and Liverpool
Canal.

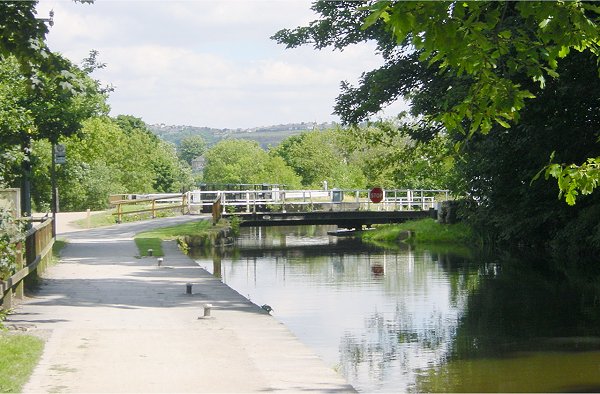
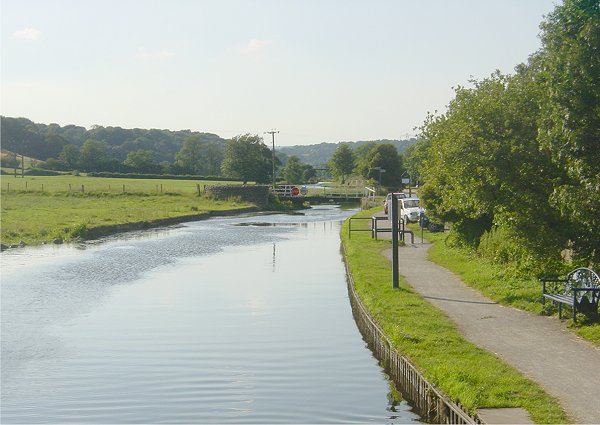
Our overnight mooring in Rodley, just above Horseforth Road Bridge No 216 A.
Leeds and Liverpool Canal.
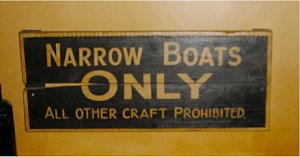
Sign seen in the Railway pub at Rodley. Leeds and Liverpool Canal.

Our overnight mooring in Rodley, just above Horseforth Road Bridge No 216 A.
Leeds and Liverpool Canal.
Home Page | "Earnest" | "Beatty" | Canal Restoration